
Uncategorized
The Essential Guide to Roblox Executors: Everything You Need to Know
Roblox is a rapidly evolving platform that empowers users to create, share, and experience games in a massive multiplayer ecosystem. With over 200 million active users every month, it has become a hub for creative expression and immersive gameplay. But as the Roblox community grows, so does the interest in tools that expand what’s possible within the platform. Among these tools, executors stand out as powerful utilities for running custom scripts, unlocking hidden features, and customizing gameplay like never before.
In this detailed guide, we’ll cover everything you need to know about Roblox executors—from what they are and how they work, to the most popular ones used today, and how to use them safely. Whether you’re a beginner or a seasoned scripter, this article will provide valuable insights to help you navigate the world of Roblox scripting tools.
What is a Roblox Executor?
A Roblox executor is a third-party software tool designed to inject custom Lua scripts into the Roblox game client. These scripts can manipulate in-game mechanics, automate repetitive tasks, enhance player abilities, or unlock special features that aren’t normally accessible.
For example, an executor can allow you to walk through walls, teleport across the map, modify character stats, or run your own scripts to create unique gaming experiences. While these actions can be fun and empowering, they also walk a fine line in terms of Roblox’s terms of service.
Because of this, it’s important to understand that using an executor irresponsibly—or using one that’s poorly coded—can result in penalties such as account bans or exposure to malware. That’s why choosing the right executor and using it wisely is crucial for any serious Roblox player or scripter.

How Do Executors Work?
Executors work by injecting Lua code into the Roblox client while the game is running. Lua is the scripting language used by Roblox developers to build games and experiences. Normally, this scripting is controlled by the game creator, but an executor gives the player direct control over the code.
When used correctly, an executor allows a user to run custom scripts that interact with the game in real-time. These scripts can modify user interfaces, adjust physics, or even create entirely new game functions. The executor acts as a bridge between the custom code and the game engine, making real-time manipulation possible.
This level of control opens the door to endless possibilities, but it also requires responsibility. Using the right executor from a trusted source is vital to avoid negative consequences.
Top Roblox Executors in 2025
There are several executors widely used by the Roblox community. Each one has its strengths, limitations, and unique features. Here are the most reliable and popular ones currently being used:
1. Synapse X
Arguably the most powerful and widely used Roblox executor available. Synapse X supports nearly all Lua scripts, offers fast execution, and includes advanced features like script decompilation. Although it’s a paid tool, its robust capabilities make it worth the investment for serious users.
2. Krnl
Krnl is a free executor that rivals many paid tools in terms of functionality. Known for its stability and script support, Krnl is frequently updated and features a clean user interface. It’s a great option for users who want a reliable tool without paying upfront.
3. Fluxus
Fluxus is a free Roblox executor that’s beginner-friendly but still offers advanced features. It supports a wide range of scripts and provides a stable scripting environment. While not as feature-rich as Synapse X, it’s a solid choice for casual users.
4. Script-Ware
Script-Ware is a premium executor known for its smooth performance, elegant interface, and consistent updates. It supports both Mac and Windows platforms, which sets it apart from many other executors. Ideal for users looking for reliability and cross-platform support.
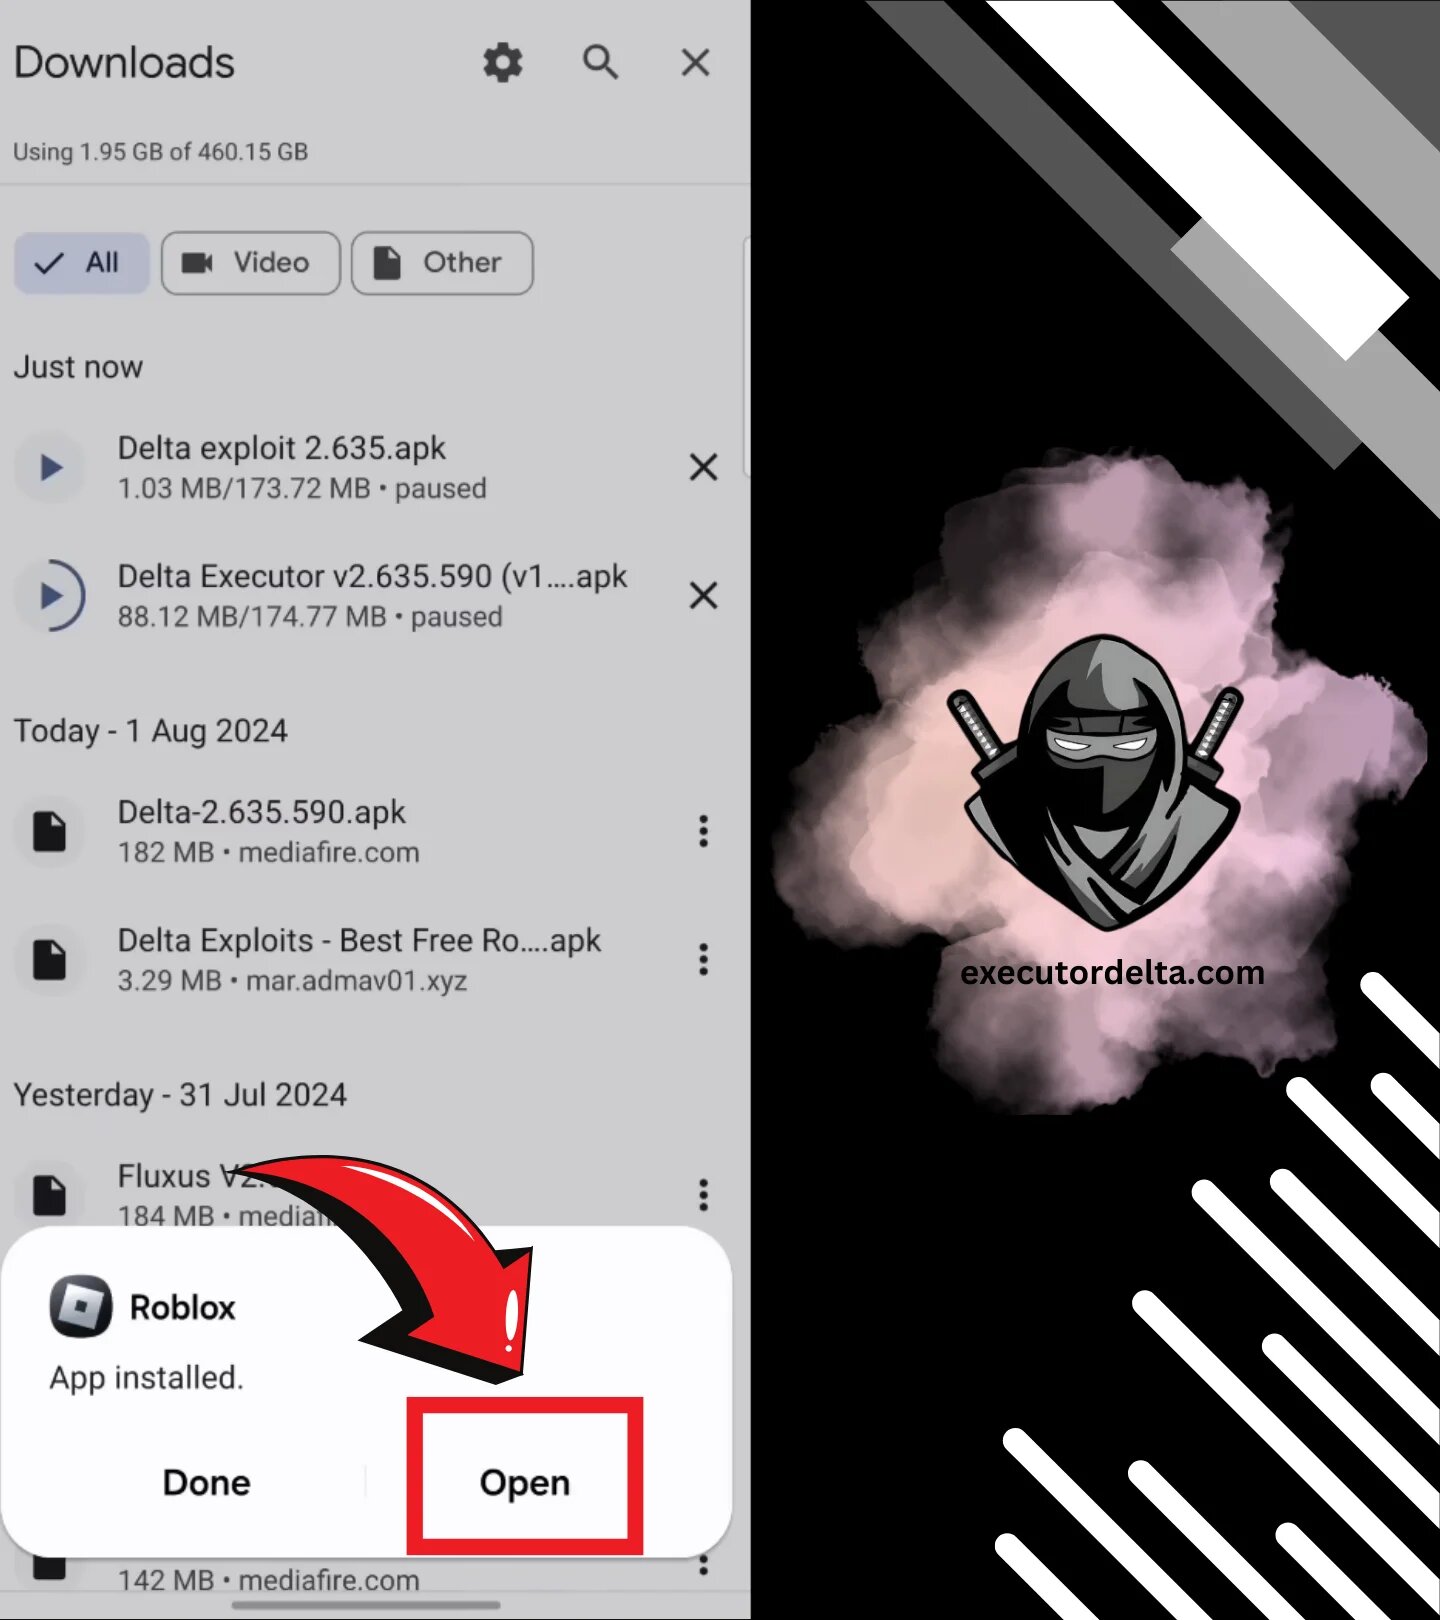
5. Delta Executor
Among the newer but increasingly popular tools, Delta Executor has quickly earned a reputation for its user-friendly design and consistent performance. It supports a wide variety of scripts and is designed for players who want efficiency without sacrificing security.
Are Executors Safe?
The safety of an executor depends largely on its source and how it’s used. Many free executors found on the internet are bundled with malware, keyloggers, or hidden miners. These can seriously harm your computer or steal sensitive data.
To stay safe:
-
Download from trusted sources only. Avoid random YouTube links or shady forums.
-
Use antivirus software to scan any file before installation.
-
Avoid scripts from unknown authors. Even if the executor is safe, a malicious script can harm your game or expose vulnerabilities.
It’s also worth noting that while using an executor may enhance your personal gameplay, it often violates Roblox’s terms of service. Always use these tools at your own risk and avoid disrupting others’ experiences.
Best Practices for Using Roblox Executors
If you choose to use a Roblox executor, follow these best practices to stay safe and get the most out of your scripting experience:
-
Limit the number of scripts you run at once. Running too many scripts can crash your game or system.
-
Update your executor regularly. Developers release updates to fix bugs, patch exploits, and improve stability.
-
Test scripts in a private server. This helps prevent issues and protects other players from unintended consequences.
-
Don’t share your executor with others. Files can be tampered with, leading to potential security risks.
-
Use backup accounts. To avoid losing your main Roblox account, test new executors or scripts on secondary accounts.
Why Roblox Executors Are in High Demand
The demand for executors has surged due to the flexibility and control they offer. Players no longer have to stick to default gameplay—they can shape their experience to match their creativity and goals.
-
Custom Features: Add features like auto-farming, enhanced visuals, or speed hacks.
-
Learning Scripting: Beginners use executors to understand how Lua scripts interact with games.
-
Competitive Advantage: Gain an edge in PVP or simulator-style games.
-
Game Testing: Developers often use executors to test their games in extreme conditions.
Executors give users the ability to go beyond the surface and explore the inner workings of Roblox games, which is a huge appeal for technically inclined players.
Final Thoughts
Roblox executors are powerful tools that offer users enhanced control, flexibility, and the ability to innovate beyond standard gameplay. Whether you’re looking to learn scripting, automate in-game tasks, or simply explore new features, an executor can be a valuable addition to your Roblox toolkit.
However, safety and responsibility are key. Always use trusted tools like Delta Executor and avoid sketchy downloads or scripts. Remember, while the power of customization is exciting, it should be used ethically and within the bounds of good gaming conduct.
As the Roblox platform continues to evolve, the tools we use will become even more sophisticated. Stay informed, stay safe, and most importantly—enjoy the creative freedom that scripting and executors can provide.
Author


The business landscape in Dubai is moving faster than ever in 2026. As a global crossroads for commerce, the city demands a level of customer service that is both sophisticated and multilingual. Call center companies in Dubai are no longer just “support desks”—they are the frontline of brand identity for startups and multinational corporations alike. By outsourcing communication, businesses can ensure they stay competitive in a 24/7 marketplace.
What Defines Call Center Companies in Dubai?
Call center companies in Dubai are specialized service providers. They manage the entire spectrum of inbound and outbound business communication. Essentially, they act as a seamless extension of your brand. These experts handle everything from basic inquiries and complex technical support to high-pressure sales calls.
In 2026, these providers utilize cutting-edge “optichannel” technology. This means they don’t just answer phones; they manage live chats, WhatsApp, social media DMs, and emails with absolute context. They ensure a “single-pane-of-glass” experience where a customer never has to repeat their story twice. This level of speed and professionalism is something internal teams often struggle to match.

Why Professional Outsourcing is Essential
In a high-velocity market like Dubai, a delayed response is a lost customer. Call center companies in Dubai have become vital for several critical reasons:
-
Customer Retention: They provide immediate, expert responses that build long-term trust.
-
Operational Agility: Businesses can scale their support up or down instantly. This is perfect for seasonal surges or sudden marketing successes.
-
Focus on Core Strengths: By offloading communication tasks, leadership teams can focus entirely on product development and regional expansion.
-
Economic Efficiency: Outsourcing removes the need for massive investments. You save on expensive office space, high-end hardware, and the constant cycle of recruitment and training.
Services Offered by Leading Dubai Providers
Dubai’s diverse population requires a unique set of services. Top-tier call centers have evolved into high-end hubs for Business Process Outsourcing (BPO). Most now offer:
-
Multilingual Support: This is vital in a city with over 200 nationalities. Support is typically available in Arabic, English, Hindi, Tagalog, and Mandarin.
-
Technical Help Desk: Many providers offer specialized troubleshooting for the IT, fintech, and e-commerce sectors.
-
Telemarketing & Lead Generation: Proactive outbound calling helps drive new business growth and market research.
-
Back-Office Operations: These firms handle data entry, order processing, and complex documentation.
-
AI-Augmented Support: In 2026, AI acts as a “co-pilot” for human agents. It automates repetitive tasks like identity verification. This frees up humans to handle emotionally sensitive or complex cases.
Selecting the Right Partner in 2026
Choosing the wrong partner can be more expensive than having no partner at all. When evaluating call center companies in Dubai, businesses should prioritize these four pillars:
-
Technological Maturity: Does the provider use real-time analytics and AI-driven sentiment analysis? You need a partner who can predict a customer’s needs before they even speak.
-
Cultural Compatibility: Does the staff understand the specific nuances of Middle Eastern business etiquette? Cultural alignment is the foundation of a successful partnership.
-
Data Security & Compliance: With strict regulations in the UAE, ensure your partner adheres to ISO 27001 standards. One data leak can ruin a company’s reputation forever.
-
On-Premise vs. Cloud: Some Dubai firms prefer on-premise solutions for maximum security. Others choose cloud-based systems for flexibility. Make sure their tech stack aligns with your existing infrastructure.
The Consequences of Poor Communication
Businesses that try to manage high-volume communication internally often hit a “growth ceiling.” Without professional infrastructure, companies face several risks. First, they deal with high abandonment rates when customers hang up after long wait times. Second, internal staff often suffer from burnout when forced to handle non-core tasks. Finally, inconsistent service quality confuses and frustrates the customer base, leading to poor reviews.
The 2026 Outlook: From Reactive to Proactive
The future for call center companies in Dubai is rooted in proactive customer experiences. By 2026, the industry is moving away from “firefighting” reactive support. Advanced analytics now allow managers to monitor 100% of interactions rather than just a small sample. This data helps identify product flaws and emerging market trends in real-time.
Furthermore, the rise of “Agentic AI” allows autonomous systems to plan and execute multi-step tasks. This doesn’t replace humans; it empowers them. Human agents have stopped being script-readers. Instead, they have become high-level problem solvers.
Final Thoughts
Ultimately, call center companies in Dubai are the engine room of modern business growth. They offer a rare combination of cost reduction and quality improvement. Whether you are a small boutique firm or a massive global enterprise, the right partner makes all the difference.
Professional communication is no longer just a “business expense.” It is a strategic value engine. For any brand looking to dominate the Dubai market, excellent customer service is the most reliable path to success. By partnering with a reputable provider, you can turn every customer interaction into a data point for growth and an opportunity for loyalty.
About Your Growth Partners
Finding a reliable service provider is the first step toward scaling your operations. Many businesses in the UAE now look for “one-stop-shop” solutions. These partners offer everything from local prospecting databases to top-quality tele-calling agents.
Why Choose Professional Outsourcing?
-
Access to Experts: You gain a team of specialists you don’t have in-house.
-
24/7 Availability: You can serve your customers at any time, in any time zone.
-
Modern Infrastructure: You get the latest CX technology without the upfront cost.
If you are ready to enhance your customer experience and boost your efficiency, now is the time to explore the vibrant market of call center companies in Dubai. Your brand deserves a voice that matches its ambition.
Author
In today’s digital world, even a minor software vulnerability can expose an entire organisation to serious cyber threats. A single insecure line of code can put millions of users and critical data at risk. Because of this growing threat landscape, cybersecurity is no longer just about protecting networks and systems from the outside; it has become a fundamental part of how software itself is built.
The old practice of developing software first and adding Security later is no longer effective. In fact, it often creates more risks than solutions. With major cyber incidents such as the SolarWinds supply chain attack and vulnerabilities like Log4j, organisations have realised that Security must be embedded throughout the entire development process. This is where Secure Software Lifecycle Management (SSLM) plays a crucial role in modern cyber defence.
The Shift-Left Approach: Integrating Security from the Start
Traditionally, security checks were performed only after software development was complete. This meant vulnerabilities were discovered late in the process, making them expensive and difficult to fix.
Today, organisations are adopting the Shift-Left security approach, integrating security practices into the earliest stages of the Software Development Life Cycle (SDLC). By incorporating security considerations into the planning, design, and coding phases, teams can identify potential weaknesses before they become real problems.
This proactive approach not only reduces costs but also ensures that Security becomes a core part of the software rather than an added feature.
Connecting Development Teams and Security Experts
One of the biggest challenges in modern IT environments is the communication gap between developers and security teams. Developers often prioritise performance, functionality, and speed, while security professionals focus on minimising risks and vulnerabilities.
Secure Software Lifecycle Management helps bridge this gap by creating a structured framework that enables both teams to collaborate effectively. Certifications such as the Certified Secure Software Lifecycle Professional (CSSLP) equip professionals with the knowledge and methodology to manage Security throughout the software lifecycle—from planning and development to deployment and eventual retirement.
Rather than focusing solely on writing secure code, the approach emphasises managing the entire ecosystem that produces and maintains software.
Securing the Modern Software Supply Chain
Most modern applications are not built entirely from scratch. Developers rely heavily on open-source libraries, third-party frameworks, and external APIs. While these resources accelerate development, they can also introduce hidden security risks.
Secure Software Lifecycle Management ensures that every component used in software development is carefully reviewed, tracked, and monitored for vulnerabilities. Without proper oversight, a single compromised dependency can weaken the Security of the entire application.
By implementing structured processes, organisations can maintain greater visibility and control over their software supply chain.
Developing the Next Generation of Security Professionals
As organisations place greater emphasis on secure software development, the demand for skilled cybersecurity professionals continues to grow. Certifications like CSSLP are becoming increasingly valuable for professionals who want to demonstrate expertise in secure software lifecycle practices.
However, mastering the multiple domains covered in the certification requires both theoretical knowledge and practical preparation. Many candidates enhance their preparation through simulation tools that replicate the structure and pressure of the real exam environment.
Practice platforms, whether desktop or web-based, allow candidates to test their understanding, identify knowledge gaps, and build confidence before taking the actual certification exam.
Building Skills for Secure Software Development
As organisations place greater emphasis on secure development practices, the demand for professionals with specialised knowledge continues to grow. Preparing for certifications like CSSLP requires both conceptual understanding and practical exam readiness.
Many candidates improve their preparation by practising with tools designed to simulate real exam scenarios. For example, using CSSLP Desktop Practice Software allows learners to practice offline in an environment that closely resembles the actual certification exam. This helps them understand the exam structure, manage time effectively, and strengthen their confidence.
At the same time, professionals who prefer flexibility often rely on a CSSLP Web-Based Practice Test, which enables them to practice from any device and continue learning wherever they are. Combining these preparation methods often helps candidates develop a stronger understanding of secure software lifecycle principles.
Security, Compliance, and Business Trust
Secure Software Lifecycle Management is not only important for protecting applications but also for meeting regulatory requirements. Laws and regulations around data protection continue to evolve, and organisations are expected to demonstrate responsible security practices.
Companies that implement secure development processes show customers and partners that they take cybersecurity seriously. In the digital economy, trust plays a major role in long-term business success, and strong security practices help organisations maintain that trust.
Final Thoughts
Cyber defence today starts long before software is deployed. It begins during design discussions, development planning, and coding itself. Organisations that integrate security throughout the entire software lifecycle are better equipped to prevent vulnerabilities and protect their systems from evolving threats.
For developers, security engineers, and project managers, understanding secure software lifecycle management is becoming an essential skill. By prioritising security from the beginning and continuously improving development practices, organisations can build software that is both innovative and resilient.
Author


Author


Standardized Reporting: Improve Workplace Safety & Compliance

Luxury Car Rental in Surat: Cars for Weddings, Events & Travel

Bariatric Surgery in Islamabad: Recovery & Long-Term Benefits

Application Modernization Services: For Legacy Systems

Chrome Hearts Hats: Iconic Trucker Caps & Luxury Streetwear

Application Modernization Services: Azure Solutions

Online Embroidery Designs: Tips & Modern Machine Techniques

Biopolymers Market: Trends, Growth & Sustainable Materials
Slice Master Game: Tips, Tricks & High-Score Strategies

Eyelid Surgery in Islamabad: Top Clinics for Blepharoplasty

Cybersecurity Consulting Company SequelNet Provides Critical IT Support Services to Medical Billing Firm, Medical Optimum

Team Communication Software Transforms Operations at Finance Innovate

Project Management Tool Transforms Long Island Business

How Alleviate Poverty Utilized IPPBX’s All-in-One Solution to Transform Lives in New York City

Breast Cancer: The Imperative Role of Mammograms in Screening and Early Detection

Unstoppable Collaboration: D.C.’s Citi Open and Silicon Valley Classic Unite to Propel Women’s Tennis to New Heights

Embracing Renewal: Sizdabedar Celebrations Unite Iranians in New York’s Eisenhower Park

The Benefits of Starting a Side Hustle for Financial Freedom

New Blood Donation Screening Questions What You Need to Know

Stylishly Timeless: The 5 Types of Sandals You Need in Your Closet
-

 Business3 years ago
Cybersecurity Consulting Company SequelNet Provides Critical IT Support Services to Medical Billing Firm, Medical Optimum
-
Business3 years ago
Team Communication Software Transforms Operations at Finance Innovate
-
Business3 years ago
Project Management Tool Transforms Long Island Business
-
Business3 years ago
How Alleviate Poverty Utilized IPPBX’s All-in-One Solution to Transform Lives in New York City
-
health3 years ago
Breast Cancer: The Imperative Role of Mammograms in Screening and Early Detection
-
Sports3 years ago
Unstoppable Collaboration: D.C.’s Citi Open and Silicon Valley Classic Unite to Propel Women’s Tennis to New Heights
-
Art /Entertainment3 years ago
Embracing Renewal: Sizdabedar Celebrations Unite Iranians in New York’s Eisenhower Park
-
Finance3 years ago
The Benefits of Starting a Side Hustle for Financial Freedom


