
Uncategorized
Raised Bed Soil Calculator: How Much Soil Do You Really Need?


Filling a raised garden bed always sounds simple until you’re standing in front of a stack of soil bags trying to guess how many you actually need. Buy too little and you’re stuck with a half-filled bed and a second trip to the store. Buy too much and you’ve wasted money on bags you have nowhere to store. The easiest way to avoid both mistakes is to run the numbers before you buy anything, and a Raised Bed Soil Calculator does exactly that, turning your bed’s length, width, and height into a precise volume so you know exactly how much soil to order.
Why Raised Bed Soil Amounts Are So Easy to Miscalculate
Soil math looks straightforward on paper, but small mistakes in measurement or unit conversion can throw off your entire order.
Why does bed shape make the math confusing?
Most raised beds are rectangular, but plenty of gardeners build L-shaped, tiered, or irregularly sized beds to fit an awkward yard corner. A simple length-times-width-times-height formula only works cleanly on a single rectangle. The moment a bed has an extra section, a taper, or a curved edge, gardeners either oversimplify the shape and underbuy, or they get intimidated and overbuy just to be safe. Breaking an irregular bed into smaller rectangular sections and adding the volumes together is the most reliable manual approach, but it’s also where a lot of arithmetic mistakes creep in.
Why do unit conversions cause so many ordering errors?
Bed dimensions are usually measured in feet or inches, but soil is sold in cubic feet, cubic yards, or liters depending on the brand and region. Converting between these units by hand introduces rounding errors that compound across a large bed. A gardener who miscalculates cubic yards into cubic feet, for instance, can end up ordering three times more or less soil than needed, since one cubic yard equals 27 cubic feet. That single conversion step trips up far more people than the actual volume formula does.

Why does soil settling get left out of the calculation?
Fresh soil is loose and fluffy right out of the bag, but it compacts significantly after the first watering and over the following weeks. Gardeners who fill a bed to the brim on day one often find the soil level has dropped by two or three inches within a month, exposing roots and requiring a top-up. Calculating only the bed’s raw volume without accounting for settling means underestimating the true long-term soil requirement, which is why many recommendations build in an extra 10 to 20 percent buffer.
How a Raised Bed Soil Calculator Solves These Problems
Instead of juggling formulas, conversions, and settling estimates in your head, a calculator handles the entire process in seconds.
How does the calculator turn dimensions into a soil volume?
You enter the length, width, and height of your bed in whatever units you have on hand, and the calculator immediately converts everything to a consistent unit before multiplying them together. For an irregular bed, you can run the calculation section by section and add the results, which removes the guesswork of manual rectangle-splitting. The output typically appears in cubic feet and cubic yards simultaneously, so you can match it directly to however your local supplier sells soil.
How does the calculator handle bag counts and bulk orders?
Once the total volume is known, the calculator can translate that figure into the number of bags you’ll need based on common bag sizes, such as 1.5 or 2 cubic feet per bag. This is especially useful when comparing the cost of buying bagged soil versus ordering bulk soil by the cubic yard from a landscaping supplier, since bulk orders are almost always cheaper for larger beds but require a minimum delivery amount that only makes sense past a certain volume threshold.
How does the calculator factor in soil blends and settling?
Many raised bed guides recommend a blend of topsoil, compost, and a soilless amendment like perlite or coconut coir rather than a single material. A calculator can split the total volume into blend ratios, telling you exactly how many cubic feet of each component to buy. It can also apply a settling buffer automatically, adding a percentage on top of the raw volume so the number you see already accounts for compaction, saving you from a mid-season top-up.
Practical Considerations Beyond the Basic Formula
Getting an accurate number is only half the job. A few real-world factors change how that number should be applied.
How much soil is actually needed for common bed sizes?
A standard 4-by-8-foot bed at 12 inches deep requires roughly 32 cubic feet of soil, while a smaller 4-by-4-foot bed at the same depth needs about 16 cubic feet. Shallower beds built at 6 to 8 inches deep, often used for herbs or shallow-rooted greens, cut that volume roughly in half. Knowing these reference points helps you sanity-check a calculator’s output before placing an order.
Should the bed be filled entirely with purchased soil?
Not necessarily. Many gardeners use the “hugelkultur” or lasagna method, filling the bottom third of a deep bed with logs, branches, or straw before topping it with purchased soil. This reduces the amount of soil needed for the upper, root-active zone while improving drainage over time. When calculating soil volume for a bed built this way, only the top 8 to 12 inches typically needs to be accounted for in the soil order.
How does climate affect soil choice and volume?
In hot, dry regions, gardeners often add extra compost or coconut coir to improve water retention, which slightly changes the blend ratio without changing the total volume needed. In consistently wet climates, better-draining amendments like perlite are favored instead. Neither adjustment changes the core volume calculation, but it does affect which blend percentages you should plug into the calculator.
Getting the Right Amount Without the Guesswork
What’s the simplest way to avoid over- or under-ordering?
Measure your bed carefully, account for its actual depth rather than its outer frame height, and run the numbers through a calculator rather than estimating. This single step eliminates the vast majority of ordering mistakes gardeners run into.
Why does accounting for settling matter so much long-term?
Skipping the settling buffer is the most common reason gardeners find themselves topping off beds mid-season. Building that estimate into the initial order saves a second trip and keeps root zones properly covered.
Is it worth calculating blend ratios separately?
Yes, especially for larger beds, since getting the topsoil-to-compost ratio right has a bigger impact on plant health than the total volume alone.
Getting raised bed soil volume right the first time saves money, prevents wasted trips, and sets your plants up with proper root depth from day one. Whether you’re filling a single small bed or planning several across a backyard garden, running your measurements through the Raised Bed Soil Calculator takes the guesswork out of the process and gives you a number you can actually shop with.
Author


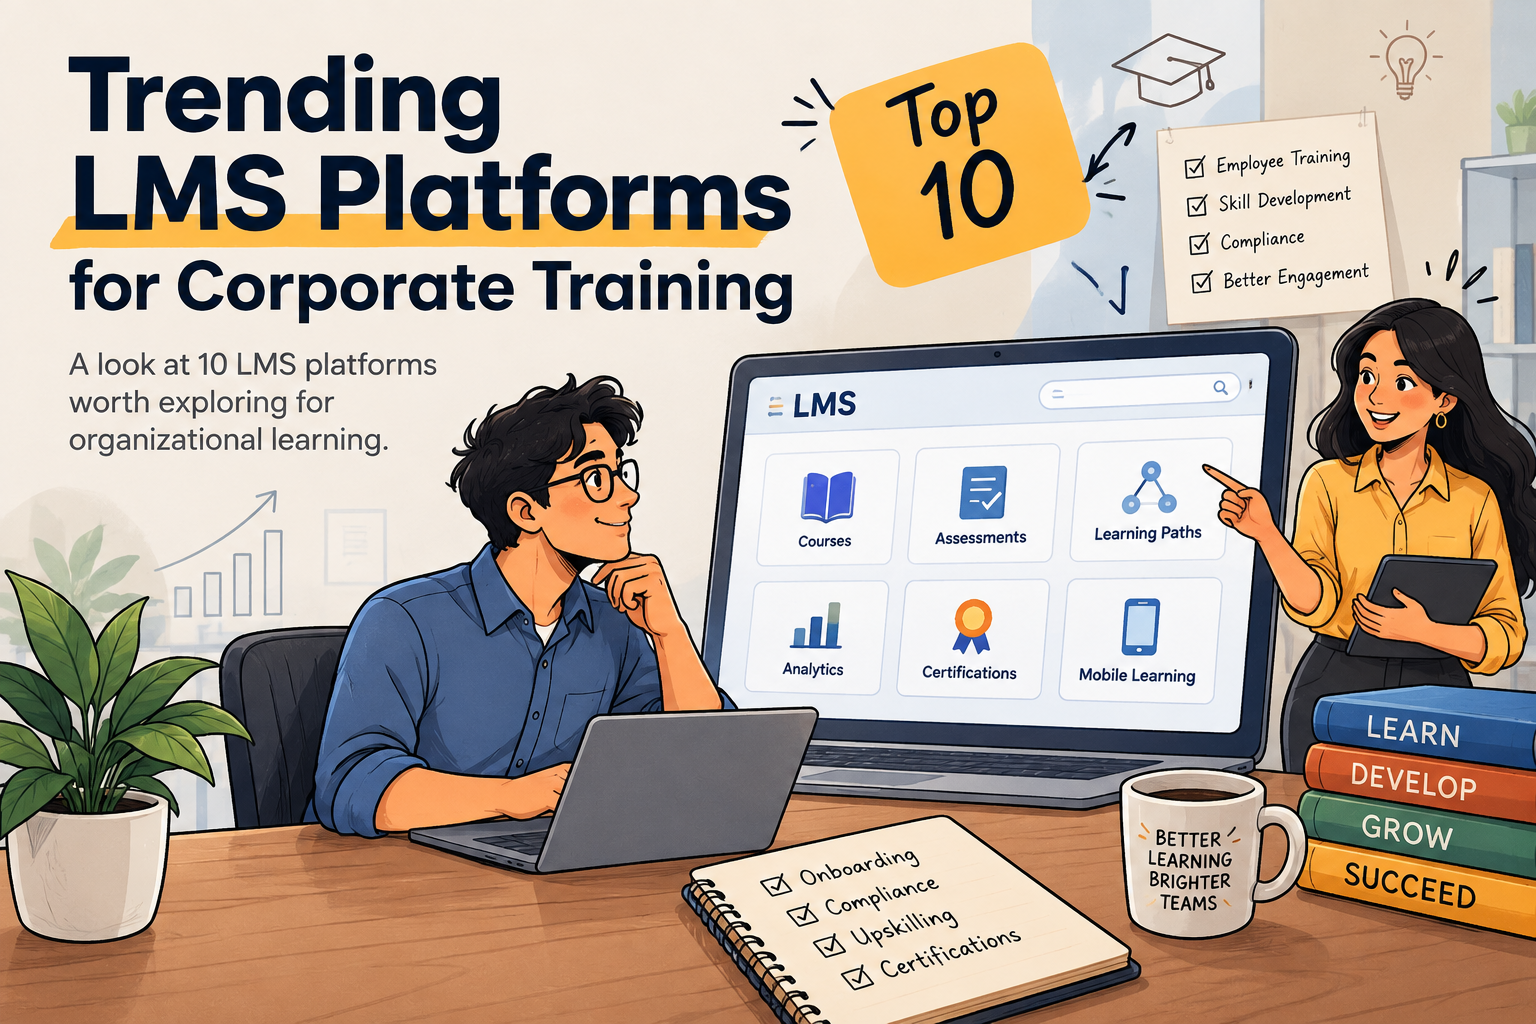
Corporate learning has moved beyond simply uploading courses and tracking completion. Organisations now look for LMS platforms that support employee development, compliance, skills, engagement, analytics and evolving business needs.
Today, businesses are looking for learning platforms that can support employee onboarding, compliance, skills development, assessments, certifications, analytics, personalised learning and, increasingly, AI-enabled learning experiences.
However, choosing an LMS is not a simple process. Different organisations have different workforce sizes, learning objectives, technology environments and operational requirements.
Here are 10 Corporate LMS platforms worth exploring for corporate and organisational training in 2026.
1. Stratbeans
Let’s start with one that we think deserves to be part of the conversation.
Stratbeans has fully dedicated its work heavily focused on Corporate organizations and learning, rather than treating an LMS simply as a place to upload courses.
The company works with enterprises on LMS, custom eLearning and corporate training solutions, with platforms such as Bytecasting LMS and ATUM LMS. Its current LMS offering covers areas including employee training, compliance, skills development, analytics, integrations and hybrid learning.
Worth exploring if: You’re looking for a corporate-focused LMS or a more customized elearning solution.
Putting Stratbeans at #1 here isn’t meant to say it’s universally better than the platforms below. I am putting it first because this community is particularly interested in corporate LMS solutions, and Stratbeans’ long-term focus on organizational learning only makes it an interesting starting point.
2. Docebo
Docebo is one of the names that regularly appears in enterprise LMS conversations.
It combines learning management with areas such as AI, skills, analytics, content and extended-enterprise learning.
Worth exploring if: You’re dealing with a large or complex learning environment and need more than basic course administration.
3. Cornerstone
Cornerstone has been a familiar name in enterprise learning for years.
Its platform extends beyond traditional LMS functionality into areas such as skills, talent and workforce development.
Worth exploring if: Your organization wants learning to sit closely alongside broader talent and workforce processes.
4. SAP Litmos
SAP Litmos is focused on corporate training and includes capabilities around learning delivery, assessments, compliance and employee development.
It can be particularly relevant for organizations that already operate within a broader SAP environment.
Worth exploring if: Compliance, structured employee training and enterprise integration are important considerations.
5. Absorb LMS
Absorb is another established corporate LMS, with capabilities spanning training administration, reporting, engagement and integrations.
It’s also used for different audiences, including employees, customers and partners.
Worth exploring if: Your organization needs to deliver learning beyond just its internal workforce.
6. LearnUpon
LearnUpon takes a relatively straightforward approach to LMS management while supporting multiple learning audiences.
And that’s useful because organizations often start with employee training and eventually realise:
“Oh… we need to train our customers and partners too.”
We’ve all been there. 😄
Worth exploring if: You need employee, customer or partner training through one learning environment.
7. 360Learning
360Learning takes a different angle by putting collaborative learning at the centre.
The idea is that subject-matter experts within an organization can contribute to creating and maintaining learning content.
Worth exploring if: Your organization has a lot of internal expertise that needs to be turned into shareable knowledge.
8. TalentLMS
TalentLMS is often considered by organizations looking for a more accessible LMS without jumping immediately into the complexity of a large enterprise learning suite.
It covers common requirements such as courses, assessments, reporting and employee training.
Worth exploring if: You’re a smaller or mid-sized organization looking for a relatively straightforward LMS.
9. D2L Brightspace
D2L Brightspace is another established learning platform that has expanded beyond traditional academic environments into corporate learning.
Its capabilities include learning delivery, analytics, assessments and personalized learning.
Worth exploring if: You want a mature learning platform with strong learning and analytics capabilities.
10. Moodle Workplace
Moodle is probably a name almost everyone in the eLearning world has encountered.
Moodle Workplace takes the familiar Moodle foundation and adapts it for organizational learning, with features designed around workplace training and administration.
The open-source roots also make it interesting for organizations that value control and flexibility.
Worth exploring if: Your organization values flexibility, customization and control over the learning environment.
What does your organisation actually need from an LMS?
Because “corporate LMS” can mean very different things.
Maybe you need:
- Employee onboarding
- Compliance training
- Upskilling & reskilling
- Certifications
- Skills management
- Customer or partner training
- Mobile learning
- AI-powered learning
- Advanced reporting
- HRMS/CRM integrations
- Custom workflows
- Multi-language learning
- Frontline workforce training
And that’s where LMS selection gets interesting.
The platform with the flashiest demo might not be the platform that works best for your actual workforce.
Choosing a Corporate LMS Platform
The right Corporate LMS partner depends on what an organisation is trying to achieve.
Before selecting a company, it is worth looking at factors such as instructional design expertise, content formats, industry experience, scalability, LMS compatibility, localisation, turnaround time and customisation capabilities.
Most importantly, good eLearning content should do more than convert a PowerPoint presentation into an online course. It should make complex information easier to understand, relevant to the learner and useful in the workplace.
The technology matters. But the learning experience matters even more.
Author



A commercial architectural rendering project brief is a set of written instructions that helps a visualization team understand a client’s requirements and produce an image that represents the project accurately. A well-prepared brief specifies the perspective, views, source files, and expected output, giving every member of the project team a clear definition of the scope of work.
The project team may include the client, architect, developer, and marketing team. Without a brief, projects often suffer from misdirected work, unreconciled changes, cost overruns, and, above all, missed deadlines. Preparing the brief early makes it easier to fold the design intent into the rendering scope.
At McLine Studios, we have worked on a wide variety of design and construction projects. Our experience shows that a 3D rendering project helps design and construction teams align their scopes and integrate the design into the build. This guide explains what a commercial 3D visualization brief should address and includes a checklist you can adapt for future projects.
What Goes Into a Commercial Architectural Rendering Brief?
An architectural rendering brief is the information a client provides to a visualization studio before production begins. It usually consists of the project scope and a description of the design intent. It may also include:
- Preferences for materials and finishes
- Site context
- Camera and lighting requirements
- The type and quantity of people, vehicles, and landscaping
- The type and size of the output
- The deadline and the client’s preferences for revisions
Why a Comprehensive Brief Is Essential for Commercial Projects
Commercial projects typically involve more stakeholders and more levels of approval than residential ones, so a comprehensive brief is especially important. A detailed commercial rendering brief generally:
- Aligns architects and designers on the project
- Limits the need for revisions
- Defines scope and cost
- Reduces the time needed to produce renders
- Produces a consistent image outcome
- Improves communication between the design and rendering teams
Because commercial visualization draws on input from many stakeholders, the quality and completeness of the brief directly affect the success of the project.
10 Key Elements of a Professional Commercial Rendering Brief
1. Project Overview and Building Type
Start with a short summary of the project: name, location, stage, building type, and approximate size. The planned use of the building influences how it is designed and built, and therefore how it should be rendered. A hotel and a retail establishment will be interpreted very differently, as will a small hotel and a large retail space. Providing this context up front saves time and shapes every decision that follows.
2. Project Goals and Intended Use of the Renderings
Explain how the images will be used. Common purposes include:
- Investor presentations
- Planning or approval meetings
- Client presentations
- Leasing or pre-sale packages
- Marketing collateral, websites, brochures, and social media
Intended use affects image composition, size, and level of detail. Marketing collateral may require higher resolution than a website, and an image for a zoning board will be more precise than one for a leasing brochure.
3. CAD, BIM, and Design Files
Supply AutoCAD, Revit, or SketchUp files, 3D models, floor plans, elevations, sections, site plans, and material boards. Because design files go through multiple revisions, confirm which ones represent the latest approved design. Where several disciplines provide conflicting information, indicate which inputs take priority. These files are the foundation for an accurate rendering.
4. Materials, Finishes, and Design Specifications
Provide information on façade, flooring, wall, and roof finishes, glazing, metal, wood, and stone, as well as furniture and fittings. Include material boards and, where available, product names and finish codes. Precise material definitions remove ambiguity and prevent texture inconsistencies during production.
5. Camera Angles and Required Views
Identify the views you need:
- Street and hero views
- Aerial or drone views
- Entrance and corner views
- Interior and common-area views
- Site and parking views
- Views of the surrounding area
Reference photos, sketches, or diagrams showing camera positions help the team understand exactly what you want, reduce revision requests, and keep production efficient.
6. Site Context and Exterior Environment
Describe the surrounding built and natural environment: buildings, roads and bridges, public and private transportation, land use, topography, vegetation, and streetscape elements. For commercial projects, include surrounding land uses, neighboring buildings, setbacks, and the width of the public right-of-way. Site-specific detail conveys a sense of place and keeps the design from appearing generic.
7. Interior Design and Space-Specific Requirements
Address furniture, fixtures, finishes, decor, lighting, ceiling details, floor and wall treatments, and branding, along with the expected level of occupancy. Describe each space and indicate which elements carry the most visual importance. A hotel lobby, for example, matters more than a staff corridor. Interior details should also be consistent with the exterior design.
8. Lighting, Time of Day, and Atmosphere
Indicate your preferred time of day (day, dusk, or night), lighting type (natural or artificial), season, and overall mood, whether vibrant, cozy, or stern. Lighting direction and timing can change how a scene is interpreted. A street rendered in daylight looks very different from the same view at dusk with interior lights glowing. Getting this balance right is what allows a photorealistic rendering to express your vision.
9. People, Vehicles, Landscaping, and Other Visual Elements
Specify whether to include people, vehicles, landscaping, signage, and other elements, and whether the scene should show a few representative details or many. A reasonable number of these elements helps communicate the intended use and commercial potential of the space.
10. Output Specifications, Deadlines, and Revision Requirements
Define:
- Final resolution and aspect ratio
- File format (JPG, PNG, TIFF, or PDF)
- Digital or print use, and presentation or web use
- Number of final views
- Deadline and key dates
- Number of revision rounds
- Delivery method
- Who makes the final decision on each revision
Indefinite sign-off is one of the main reasons schedules slip, so identifying the decision-maker early helps prevent last-minute surprises.
Rendering Brief Checklist: Files and Information to Include
Use this checklist before sending a brief for CAD files, architectural rendering, or project visualization.
| Item | Why It Matters |
| Project plans | Establish dimensions and layout |
| Elevations | Show the exterior features of the design |
| Sections | Show how design elements relate to one another |
| CAD/BIM files | Show the design and its elements as built |
| Site plan | Shows the setting and context |
| Sample board | Shows materials and finishes |
| Furniture schedule | Lists furnishings and fittings |
| Landscape plan | Shows outdoor surroundings and planting |
| Reference images | Communicate the design intent |
| Brand standards | Guide branded elements and visual consistency |
| Camera distances | Define the limits of each view |
| Output standards | Define technical delivery requirements |
Not every project will supply all twelve items at the briefing stage, and that is acceptable. The aim of the briefing is to determine what is missing. Providing as much as possible early prevents surprises in production, clarifies the terms of the rendering agreement, and speeds up file review.
Exterior vs. Interior Rendering Briefs: What Changes
Exterior Rendering Briefs
Exterior briefs should cover sight lines, site conditions, and views, along with surrounding site walls, planting, signage, paving, and other adjacent built and unbuilt conditions. Time of day and sun altitude greatly influence how a site is perceived and rendered. Producing street scenes early builds momentum and can help overcome initial hesitation about a design. Our 3D exterior rendering services are based on briefs like these.
Interior Rendering Briefs
Interior briefs should address function, design elements, finish materials, lighting, branding, occupancy, camera positions, and how spaces relate to one another. Understanding how a space will be used over time helps determine the best way to arrange and present it. Because interior elements differ so much from those used to define exteriors, our 3D interior rendering team gathers interior information separately.
When to Include CAD Rendering in Your Project Brief
CAD rendering turns digital representations of built environments into still images. To do this, the client provides technical plans, elevations, engineering drawings, or other 2D drawings. The request may come at any project stage, including early design, when a client needs images for potential sponsors or other stakeholders.
In such cases, the client should provide:
- The name of the software used to create the drawings
- The file format and drawing version
- Whether 2D drawings must be produced from 3D models
- The required level of detail
- The views requested
CAD rendering is quick and efficient. We use the information provided to create marketing images of the requested views.
Common Mistakes to Avoid in a Commercial Rendering Brief
- Submitting obsolete drawings
- Failing to state the purpose of the render
- Being vague about camera positions
- Providing inadequate or no material information
- Not addressing site conditions
- Omitting performance requirements
- Being unclear about expected changes
- Treating exterior and interior conditions as equivalent
Most of these problems come from unclear requirements or insufficient client information, and a standardized brief format resolves them.
How a Clear Brief Improves the Rendering Workflow
Brief → File Review → Scope Confirmation → 3D Modeling and Scene Setup → Draft Rendering → Feedback → Revisions → Final Rendering
Every step depends on the information in the initial brief. Complete CAD files reduce the need for extended file review, and defined views and goals make scope confirmation easier. The feedback stage can produce surprises if the client has not finalized details such as materials and lighting. Ultimately, the brief determines how smoothly the remaining steps run. Rendering providers of all sizes follow a similar process, which gives clients a realistic view of timing at the start and at each stage through delivery.
How to Choose a Commercial Architectural Rendering Partner
Look for a partner with:
- An established architecture and AEC background
- Deep knowledge of both CAD and BIM
- Excellent written and verbal communication
- Clear revision and delivery procedures
- The ability to produce high-quality exterior and interior images in one integrated workflow
The studio should also understand the commercial objectives of your project, particularly the difference between images made for leasing and those made for a planning submission. That understanding helps them ask the right questions during the briefing. McLine Studios works closely with architects and developers to help them achieve their commercial visualization objectives.
Conclusion
A strong commercial rendering brief rests on five crucial elements: a clear objective, accurate source documents, a thorough description of materials and design, camera direction where needed, and a defined end use and deadline. In our experience, delivering these early helps us meet client expectations and complete projects on time. McLine Studios can create commercial renderings directly from architects’ and developers’ drawings and documents. Contact us to explore our 3D architectural rendering services and get your next project started.
Author



Atlanta has long been recognized as a cultural powerhouse in the Southeast, and its jewelry scene reflects that same creative energy. Whether you’re celebrating a milestone, redesigning a family heirloom, or simply want a piece that reflects your personal style, custom jewelry Atlanta offers an experience that mass-produced pieces can never match. In this guide, we’ll walk you through everything you need to know about commissioning bespoke jewelry in Georgia’s capital.
Why Choose Custom Jewelry?
Off-the-shelf jewelry is convenient, but it comes with limitations. You’re choosing from what a manufacturer decided to produce, not what you actually envision. Custom jewelry flips that equation. Instead of settling, you design.
Here are the key advantages:
-
Personal expression – Every curve, stone, and engraving tells your story.
-
Better craftsmanship – Independent jewelers often devote far more hands-on time to each piece.
-
Meaningful gifting – An engagement ring or anniversary gift designed from scratch carries emotional weight that retail pieces simply can’t replicate.
-
Heirloom revival – Old family stones can be reset into modern designs, preserving sentiment while refreshing style.
The Custom Jewelry Process, Step by Step
Understanding the process helps you set realistic expectations for timeline and budget.
1. Consultation
Most Atlanta jewelers begin with a one-on-one consultation, either in person or virtually. You’ll discuss inspiration, budget, stone preferences, and metal choices. Bring photos, sketches, or even a Pinterest board—visual references speed up the design phase dramatically.
2. Design and Rendering
Next comes the creative phase. Many studios use CAD (computer-aided design) software to produce 3D renderings of your piece. You’ll review these images and request adjustments before anything is fabricated. This step prevents expensive mistakes later.
3. Stone Selection
If your design includes gemstones, your jeweler will help you source diamonds, sapphires, emeralds, or moissanite. You’ll learn about the four Cs—cut, color, clarity, and carat—and how they affect both appearance and price. Some Atlanta jewelers maintain relationships with ethical, conflict-free suppliers, so don’t hesitate to ask about sourcing.
4. Wax Model or Direct Casting
Once the design is approved, a wax model may be created for final approval. After that, the piece is cast in your chosen metal—platinum, white gold, yellow gold, or rose gold. https://contrank.com/effizent-seele-pvt-ltd-transparent-services/
5. Setting, Polishing, and Finishing
Stones are set by hand, the metal is polished, and any engraving or personalization is added. Finally, your piece undergoes quality inspection before delivery.
What Can You Customize?
The possibilities are broader than most people realize:
-
Engagement rings and wedding bands
-
Necklaces, pendants, and lockets
-
Bracelets and bangles
-
Earrings, from studs to statement drops
-
Brooches and lapel pins
-
Redesigns and restorations of inherited pieces
You can also customize details like clasp type, chain length, finish (matte, hammered, high-polish), and hidden engravings such as coordinates, dates, or handwriting.
Popular Metals and Stones
Atlanta jewelers typically work with a wide range of materials:
Metals: 14k and 18k gold, platinum, palladium, sterling silver, and occasionally titanium or tungsten for modern designs.
Stones: Diamonds (natural and lab-grown), sapphires, rubies, emeralds, aquamarines, morganite, opals, and birthstones of every variety.
Lab-grown diamonds have surged in popularity because they offer identical optical and physical properties to mined diamonds at a significantly lower price point. Many buyers appreciate the sustainability angle as well.
How Much Does Custom Jewelry Cost?
Costs vary widely based on metal, stone quality, and complexity. As a general framework:
-
Simple silver or gold pendants: entry-level pricing
-
Custom engagement rings: mid-range to premium, depending on the center stone
-
Complex statement pieces with multiple stones: higher investment tier
The best approach is to set a budget before your consultation and communicate it openly. Reputable jewelers will work within your range rather than pushing you beyond it. Remember that custom work often includes design fees, which may or may not be applied toward the final purchase.
Tips for a Smooth Experience
-
Start early. Custom pieces can take several weeks to a few months, especially during engagement season.
-
Ask about warranties. Understand what’s covered for resizing, stone tightening, and refinishing.
-
Request a written estimate. Protect yourself with clear documentation of materials and pricing.
-
Check reviews and portfolios. Look for photos of completed work that matches your style.
-
Trust your gut. A good jeweler listens, educates, and collaborates—rather than dictating.
Why Atlanta Is a Great Market for Bespoke Design
Atlanta’s jewelry community blends Southern tradition with contemporary artistry. From Buckhead boutiques to independent studios in Decatur and beyond, the city attracts skilled designers, gemologists, and goldsmiths. Local jewelers often source from regional artisans, and many participate in bridal shows and design expos throughout the year.
The city’s diverse clientele also means jewelers are experienced with a wide range of styles—vintage-inspired, minimalist, bold modern, and culturally specific designs alike.
Final Thoughts
Commissioning a bespoke piece is part art project, part investment, and part sentimental journey. When done well, the result is something you’ll wear for decades and possibly pass down for generations. Take your time, ask questions, and choose a jeweler whose portfolio and personality resonate with you. With the right partner and a clear vision, your dream piece is entirely within reach. https://regal.studio/
Author



Point Cloud to BIM Outsourcing Services for AEC Companies

Trending LMS Platforms for Corporate Training

LOD 350 Electrical BIM Modeling for Construction Reality

Boston Digital Marketing Agency for Growing Businesses

Karela and Jamun: Traditional Ayurvedic Ingredients for Wellness

A Practical Look at 7oh Disposable vape Products: Formulation

How To Plan A Trip: Essential Tips Every Traveler Should Know

How To Stay Safe While Travelling: A Complete Safety Guide

Comme Des Garcons Hoodie Sale Best Deals Right Now

Is Basement Development Worth It in Calgary? Key Factors to Consider

Cybersecurity Consulting Company SequelNet Provides Critical IT Support Services to Medical Billing Firm, Medical Optimum

Meet the Megalodon: The Shark Star of ‘Meg 2’

Reduce Video Game Lag: Level Up Your Gaming Performance

Balancing India’s Entertainment: Cricket vs. Bollywood

Jetsetter’s Secrets: Unveiling Our Favorite Travel Hacks for a Seamless Adventure

The 5 Best Live Sports Streaming Sites: Legal and Exciting!

Hollywood Labor Unrest: The Impact of ‘What About Us?’ Strikes

Unveiling the Magic of Dream Fulfillment at the Late NBA Draft

Illuminate Your Skin: Dr. Axe Unveils Natural Remedies for Lightening Knees and Elbows

Bright Choices: Navigating the Pros and Cons of Skin Whitening Creams with Dr. Axe
-

 Business3 years ago
Cybersecurity Consulting Company SequelNet Provides Critical IT Support Services to Medical Billing Firm, Medical Optimum
-
Entertainment3 years ago
Meet the Megalodon: The Shark Star of ‘Meg 2’
-
Entertainment3 years ago
Reduce Video Game Lag: Level Up Your Gaming Performance
-
 Sports3 years ago
Balancing India’s Entertainment: Cricket vs. Bollywood
-
Entertainment3 years ago
Jetsetter’s Secrets: Unveiling Our Favorite Travel Hacks for a Seamless Adventure
-
Productivity3 years ago
The 5 Best Live Sports Streaming Sites: Legal and Exciting!
-
Art /Entertainment3 years ago
Hollywood Labor Unrest: The Impact of ‘What About Us?’ Strikes
-
Sports3 years ago
Unveiling the Magic of Dream Fulfillment at the Late NBA Draft