
Computer Electronic
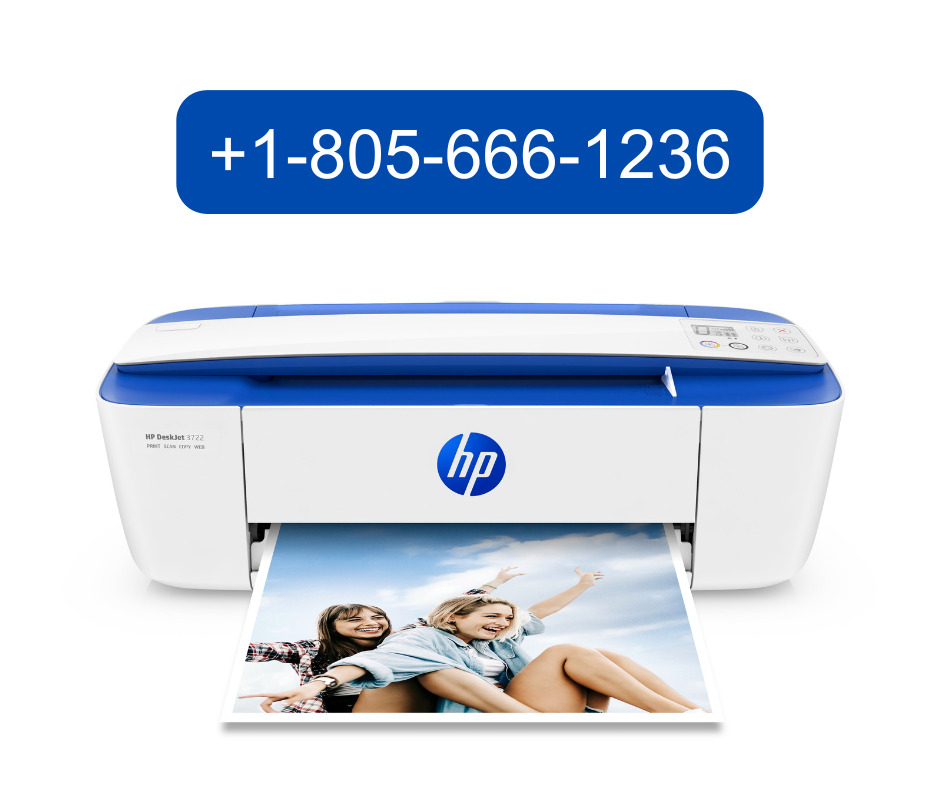
How do I set up my 123 HP printer?
By
Reviewed
By Olivia Mackenzie
Introduction
Printers are essential in today’s world, whether for school projects, office tasks, or personal use. HP printers are among the most trusted and popular printing devices known for their quality, reliability, and user-friendly setup process. If you’ve just purchased a new HP printer, you might be wondering how to get it working with your computer or Wi-Fi network.
The good news is that setting up your 123 HP printer is easy. The 123 HP setup process helps you connect your printer, install the required drivers, and start printing within minutes. This guide will walk you through everything step by step—so you can start using your printer without any hassle.
What Is 123 HP Printer Setup?
123.hp.com is the official HP setup platform designed to make installing and configuring your HP printer simple and quick. It provides the necessary software and drivers for your specific printer model and guides you through the installation process. Whether you are setting up a wired or wireless printer, this website ensures a smooth experience from start to finish.
You can use 123 HP setup for both Windows and Mac computers, and it also supports mobile devices. With it, you can easily connect your printer to your home Wi-Fi, allowing wireless printing from any connected device.
Before You Begin the Setup
Before starting, make sure you have everything you need for a smooth installation.

- A new HP printer that supports 123 HP setup.
- A computer or laptop with an active internet connection.
- The Wi-Fi name (SSID) and password if you plan to connect wirelessly.
- A USB cable (optional, for wired setup).
- Paper and ink cartridges for testing the printer after setup.
Once you have these ready, you’re all set to begin.
How do I set up my 123 HP printer?
Step 1: Unbox and Prepare Your Printer
Start by unboxing your new HP printer. Remove all protective packaging, tapes, and plastic covers carefully. Inside the box, you should find the printer, power cable, ink cartridges, setup guide, and sometimes a USB cable.
- Place the printer on a flat surface near your computer and Wi-Fi router.
- Plug the printer into a power outlet and press the Power button to turn it on.
- Open the ink cartridge door and install the cartridges in their respective slots.
- Load plain paper into the input tray.
- Follow any instructions that appear on the printer’s screen to complete the initial setup.
Your printer is now physically ready for installation.
Step 2: Connect the Printer to Your Computer or Network
HP printers offer different connection methods, including Wi-Fi, USB, and Ethernet. Here’s how you can set up each option.
Wireless (Wi-Fi) Connection
Connecting your HP printer wirelessly allows you to print from multiple devices without cables. Follow these steps:
- Turn on your HP printer.
- On the printer’s control panel, go to the Wireless Setup menu.
- Choose your Wi-Fi network name (SSID) from the list.
- Enter your Wi-Fi password using the printer keypad.
- Wait for the printer to connect. When successful, the Wi-Fi light on your printer will remain steady.
Now your printer is connected to your wireless network.
USB Connection
If you prefer a wired connection, you can connect your printer to your computer using a USB cable.
- Plug one end of the USB cable into the printer and the other into your computer.
- Turn on the printer.
- Your computer should automatically detect the printer and begin installing basic drivers.
- Continue with the setup process for complete installation.
Ethernet (Wired Network) Connection
For office environments or shared printers, you can connect using an Ethernet cable.
- Plug one end of the Ethernet cable into your printer and the other into your router.
- The printer will automatically connect to the network.
- Proceed with the installation on your computer to finish setup.
Step 3: Download 123 HP Printer Software and Drivers
To complete the setup, you need to install the HP printer drivers and software.
- On your computer, open a web browser.
- Go to the official HP setup website (123.hp.com).
- In the search bar, type your HP printer model (for example, HP DeskJet 4155e, HP LaserJet MFP, or HP Envy 6055).
- Select your printer from the results.
- Choose your computer’s operating system (Windows or macOS).
- Click the “Download” button to start downloading the software.
This software package includes printer drivers and other tools needed for a full setup.
Step 4: Install HP Printer Drivers
Once the software is downloaded, follow these instructions to install it:
- Go to your computer’s Downloads folder and find the setup file.
- Double-click the file to start the installation.
- Follow the on-screen instructions and accept the license agreement.
- The installer will search for your printer on the network or through USB.
- Once your printer appears, select it and click “Next.”
- Choose your preferred connection type (Wi-Fi, USB, or Ethernet).
- The installation will complete in a few minutes.
After installation, your HP printer will be successfully connected to your computer.
Step 5: Print a Test Page
To confirm that your printer is working correctly, print a test page.
- Open a document or photo on your computer.
- Press Ctrl + P (Windows) or Command + P (Mac) to open the print window.
- Select your HP printer from the list.
- Adjust print settings if needed, then click “Print.”
If the printer prints successfully, the setup was completed correctly.
Step 6: Set Up Mobile Printing (Optional)
If you want to print directly from your smartphone or tablet, HP makes it easy through the HP Smart App.
- Download the HP Smart App from your device’s app store.
- Open the app and sign in or create an HP account.
- Tap “Add Printer” and follow the prompts to connect.
- Make sure your phone and printer are on the same Wi-Fi network.
Once added, you can print photos, documents, and emails from your phone with just a few taps.
Troubleshooting Common Setup Problems
If you run into issues during setup, don’t worry—most are easy to fix.
- Printer not detected: Make sure both your computer and printer are on the same network.
- Wi-Fi not connecting: Restart your printer and router, then try again.
- Driver installation failed: Re-download the setup file and run the installation as an administrator.
- Slow printing: Check for software updates and make sure your printer is not in quiet mode.
- Paper jams: Open the paper tray and remove any stuck sheets carefully.
These simple solutions can help you solve most setup problems quickly.
Benefits of Using 123 HP Printer Setup
Using the 123 HP setup process comes with several advantages:
- Simple and fast installation: Anyone can follow the step-by-step process.
- Wireless flexibility: Print from anywhere in your home or office.
- Automatic updates: HP software keeps your printer drivers current.
- Mobile printing support: The HP Smart App allows convenient printing from smartphones.
- Multi-device compatibility: Works with Windows, Mac, Android, and iOS.
With these benefits, HP makes printing easy and efficient for every user.
Final Thoughts
Setting up your 123 HP printer is an easy process that only takes a few minutes. By following the simple steps of unboxing, connecting, downloading drivers, and installing software, you can get your printer ready for use quickly. Whether you connect through Wi-Fi, USB, or Ethernet, HP’s setup process is designed for beginners and experts alike.
Once your printer is connected, you can print documents, photos, and more from your computer or phone without any difficulty. HP printers are built for convenience, speed, and quality, making them a great choice for homes and offices everywhere.
Author


When your internet stops working or your router suddenly disconnects, it can disrupt everything—from work meetings to streaming and gaming. That’s where Netgear support becomes essential. Whether you’re dealing with setup issues, connectivity problems, firmware updates, or warranty claims, knowing the fastest ways to reach help can save you time and frustration.
This guide explains how to contact Netgear support quickly, including phone, chat, email, and self-service options—plus key tips to get faster resolutions.
Understanding Netgear Support Services
Before reaching out, it’s important to understand how Netgear structures its support system. Netgear provides help through multiple channels, including phone, live chat, email, and a knowledge base. However, support availability can depend on factors such as your product type, warranty status, and region.
Typically, users can get assistance for:
- Router setup and installation
- Wi-Fi connectivity issues
- Firmware updates and security patches
- Device compatibility problems
- Subscription services (like security software)
- Hardware replacement or warranty claims
Netgear also encourages users to register their product before seeking help, as this speeds up the support process and ensures eligibility for certain services.
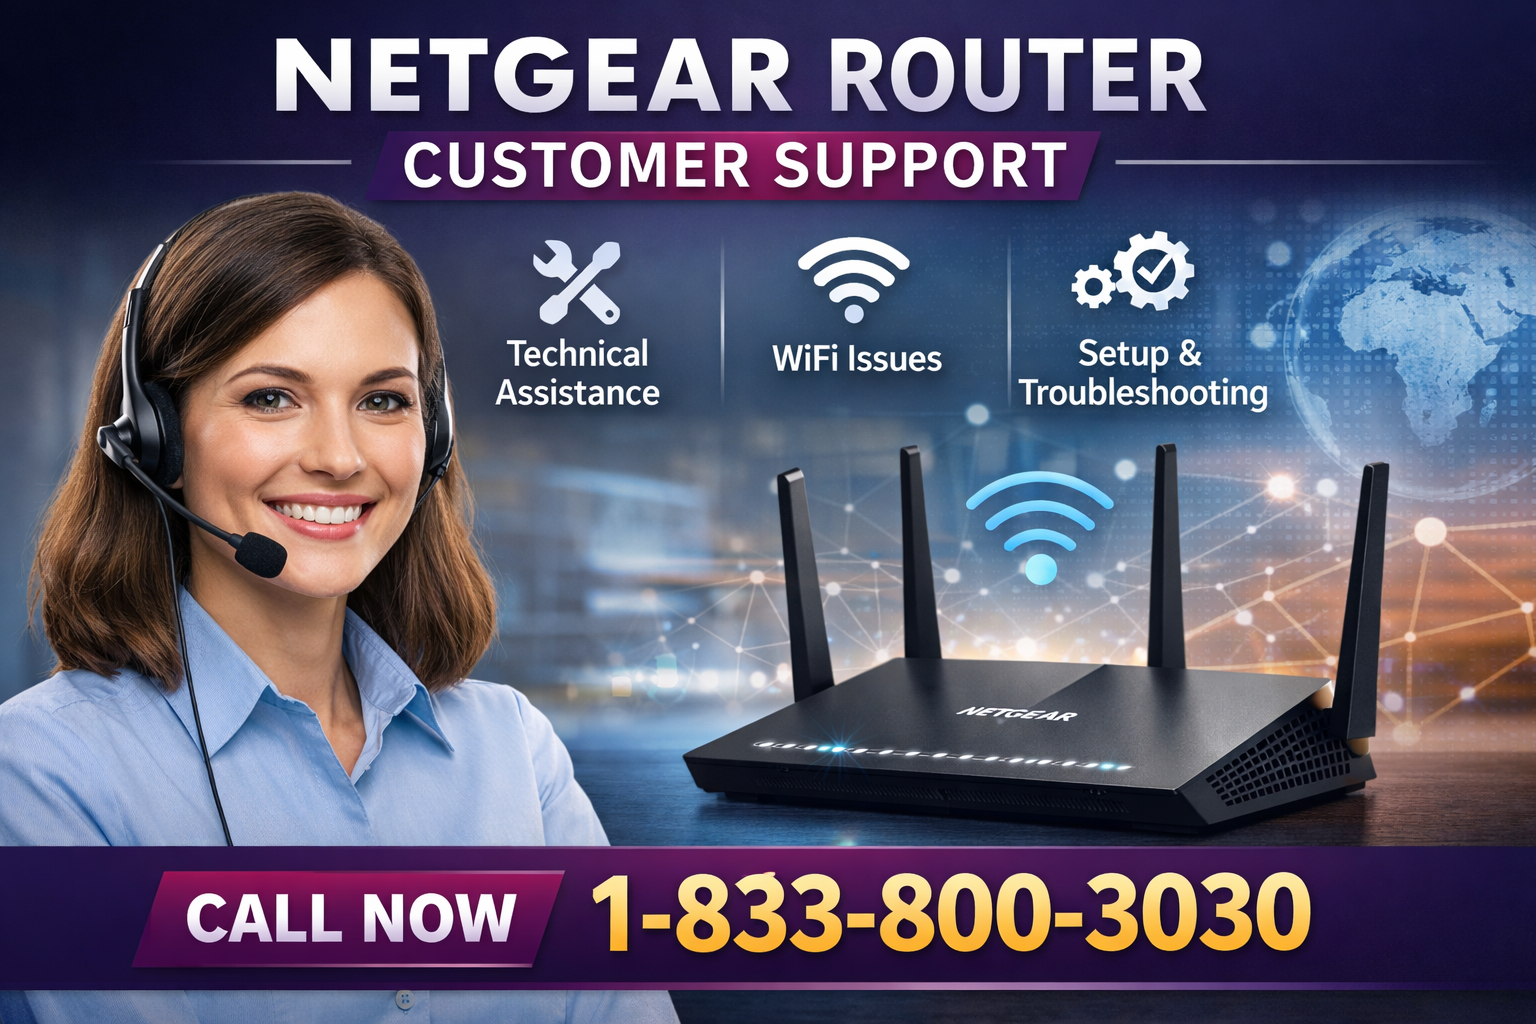
1. Fastest Method: Call Netgear Support
Calling is often the quickest way to resolve urgent issues, especially when troubleshooting requires step-by-step guidance.
Netgear Support Phone Numbers
You can try the following numbers for assistance:
- 1-872-777-1190
- 833-800-3030
These numbers are commonly used for quick customer support access.
Additionally, Netgear officially provides regional phone numbers. For example:
- Canada: 888-638-4327 (English) / 877-875-1880 (French)
- United States: 1-872-777-1190
When to Call
Phone support is best for:
- Internet not working
- Router not connecting
- Advanced troubleshooting
- Urgent issues needing immediate help
Pro Tip
Call during off-peak hours (early morning or late evening) to avoid long wait times.
2. Live Chat: Quick and Convenient
If you prefer not to wait on hold, live chat is a great alternative. Netgear offers chat support through its official support portal.
How to Access Chat
- Visit the Netgear support page
- Select your product category
- Choose “Chat with us”
- Enter your details and issue
Live chat is especially useful for:
- Basic troubleshooting
- Account-related issues
- Quick questions
However, chat queues can sometimes be busy, so patience may be required.
3. Email Support: Best for Non-Urgent Issues
Email support allows you to describe your issue in detail and receive a response within 24–48 hours.
Steps to Contact via Email
- Log into your Netgear account
- Open a support case
- Provide product details and issue description
This method works best for:
- Warranty claims
- Documentation requests
- Technical issues that require screenshots or logs
While slower than phone or chat, email support ensures a documented conversation you can refer back to later.
4. MyNETGEAR Portal: Centralized Support Hub
The MyNETGEAR portal is one of the most efficient ways to manage your support needs.
What You Can Do
- Register your device
- Track support tickets
- Check warranty status
- Request hardware support
- Access troubleshooting tools
To use this service:
- Go to the Netgear support website
- Sign in or create an account
- Select your registered product
- Choose a support option
Having your product registered ensures faster service and personalized assistance.
5. Mobile Apps for Instant Help
Netgear offers mobile apps like:
- Nighthawk
- Orbi
- Insight
These apps allow you to contact support directly from your smartphone.
Key Features
- Built-in troubleshooting tools
- Direct chat or phone support
- Network monitoring
To access support through the app:
- Open the app
- Tap the menu
- Select Support
- Choose chat or phone
This is one of the fastest ways to get help if you’re already using a Netgear device.
6. Self-Service Options (Fastest for Simple Fixes)
Sometimes, the fastest solution doesn’t involve contacting support at all.
Netgear Knowledge Base
Netgear provides a large library of:
- Troubleshooting guides
- Setup instructions
- Firmware updates
- FAQs
You can search by product model to find solutions instantly.
Community Forums
Netgear’s community forums allow users to:
- Ask questions
- Share solutions
- Learn from other users
This is particularly helpful for common issues that others have already solved.
7. Tips to Get Faster Support
Reaching support is one thing—getting quick resolution is another. Here are some tips to speed up the process:
Have Your Information Ready
Before contacting support, gather:
- Product model number
- Serial number
- Purchase date
- Description of the issue
Register Your Device
Registered devices get quicker access to support services and eligibility checks.
Be Clear and Specific
Explain your issue clearly, including:
- Error messages
- When the problem started
- Steps you’ve already tried
Use the Right Channel
- Phone → urgent issues
- Chat → quick fixes
- Email → detailed or non-urgent problems
8. Common Issues Netgear Support Can Fix
Here are some typical problems support can help resolve:
Connectivity Issues
- Wi-Fi dropping frequently
- Slow internet speeds
- Devices not connecting
Setup Problems
- Router not installing properly
- Difficulty accessing admin settings
Firmware & Security
- Updating firmware
- Fixing vulnerabilities
- Improving performance
Hardware Issues
- Faulty routers
- Replacement requests
- Warranty claims
9. Safety Tip: Avoid Scams
Netgear has warned users about fake support numbers and scams that impersonate official services.
How to Stay Safe
- Always verify numbers on official websites
- Avoid unsolicited calls claiming to be support
- Never share sensitive information unnecessarily
If in doubt, use the official Netgear support portal to initiate contact.
Conclusion
Getting help from NETGEAR doesn’t have to be complicated. The fastest way is usually to call directly using 1-872-777-1190 or 833-800-3030, especially for urgent technical issues. For less urgent matters, live chat, mobile apps, and online support cases offer efficient alternatives. By choosing the right method and preparing your information in advance, you can significantly reduce wait times and get your network back up and running quickly.
Author
If you’re using an Orbi mesh Wi-Fi system and running into issues like slow speeds, dropped connections, syncing problems, or setup errors, you’re not alone. Many users rely on Orbi systems for whole-home coverage, but like any networking equipment, they can occasionally require troubleshooting or professional support. Knowing how to quickly connect with a representative can save you time and frustration.
This guide walks you through the best ways to contact Orbi support, what to expect when speaking with a representative, and how to prepare so your issue gets resolved efficiently. You’ll also find helpful tips for troubleshooting common problems before reaching out.
Why You Might Need Orbi Support
Orbi systems are designed to provide seamless Wi-Fi coverage across large homes and offices. However, users often reach out to support for a variety of reasons, including:
- Difficulty setting up the Orbi router or satellite devices
- Orbi satellites not syncing with the main router
- Weak or inconsistent Wi-Fi signals in certain areas
- Firmware update issues
- Internet disconnections or unstable performance
- App-related configuration problems
- Password recovery or login issues
While some of these issues can be fixed through simple resets or updates, others require guided troubleshooting from a trained support representative.
Best Ways to Contact Orbi Support
There are several ways to get help from Orbi support, depending on your preference and urgency. The most direct method is speaking with a live representative by phone.
Phone Support (Fastest Option)
If you want immediate assistance, calling support is often the quickest route. You can reach a representative at:
- 1-872-777-1190
- 833-800-3030
When calling, make sure you are near your Orbi device and have access to your router and satellite units. This allows the support agent to guide you step-by-step through troubleshooting.

Online Support and Help Center
Most Orbi-related issues can also be addressed through official support pages and knowledge bases. These resources typically include:
- Setup guides for new devices
- Troubleshooting steps for common errors
- Firmware update instructions
- FAQs for connectivity issues
Online resources are helpful if your issue is minor or you prefer self-service solutions before speaking to someone directly.
Mobile App Support
The Orbi mobile app allows users to manage their network, run speed tests, and monitor connected devices. In many cases, the app also provides troubleshooting suggestions when it detects a problem. If your issue is related to configuration or network monitoring, the app can often guide you toward a quick fix without needing to contact support.
How to Speak With a Representative Effectively
When you reach a support representative, the way you communicate your issue can make a big difference in how quickly it gets resolved. Here’s how to make the conversation smooth and productive:
1. Explain the Problem Clearly
Start by describing the issue in simple terms. For example:
- “My Orbi satellite keeps disconnecting every hour”
- “I can’t complete the setup process”
- “The Wi-Fi signal drops in certain rooms”
2. Share Your Setup Details
Be ready to provide:
- Orbi model number
- Number of satellites connected
- Internet service provider (ISP)
- Whether any recent changes were made (new firmware, relocation, etc.)
3. Follow Step-by-Step Instructions
Support agents will often guide you through resets, firmware updates, or network reconfigurations. Follow each instruction carefully and avoid skipping steps.
4. Take Notes During the Call
Writing down instructions can help you avoid repeating the process later and ensures you remember key settings.
Common Troubleshooting Steps You May Be Asked to Try
Before escalating your issue, representatives often walk users through basic troubleshooting methods. These may include:
Restarting the System
Power cycling your modem, router, and satellites can resolve temporary glitches.
Checking Cable Connections
Loose or damaged Ethernet cables can cause unstable connections or setup failures.
Updating Firmware
Outdated firmware is a common cause of performance issues. Updating ensures compatibility and stability.
Resetting the Device
A factory reset may be required if configuration errors cannot be resolved. This returns the device to its original settings.
Relocating Satellites
Placement matters. Satellites should be positioned in open areas, not behind thick walls or electronics that may interfere with signals.
What to Expect When You Call Support
When you contact Orbi support using 1-872-777-1190 or 833-800-3030, here’s what typically happens:
- Initial Verification – You may be asked to confirm your device model and issue.
- Basic Troubleshooting – The agent will guide you through standard fixes.
- Advanced Diagnostics – If needed, deeper network analysis may be performed.
- Resolution or Escalation – Complex issues may be escalated to higher-level technical support.
Most issues can be resolved within a single call if all required information is available.
Tips to Get Faster Support
To reduce wait time and improve your experience:
- Call during non-peak hours (early morning or late evening)
- Keep your Orbi system powered on during the call
- Have your ISP account information ready
- Ensure your phone has stable reception
- Write down any error messages before calling
Preparation helps the support team diagnose your issue faster and reduces the need for repeated troubleshooting steps.
Alternative Ways to Get Help
If you prefer not to call, there are other ways to get assistance:
Live Chat
Many support platforms offer real-time chat with a technician, which can be more convenient than phone calls.
Community Forums
Networking communities often include experienced users who can share solutions for common Orbi issues.
Email Support
For non-urgent issues, email support allows you to describe your problem in detail and receive a structured response.
Common Orbi Issues and Quick Fixes
Here are a few problems users frequently experience and simple fixes you can try before contacting support:
Slow Internet Speeds
- Restart modem and Orbi router
- Run a speed test near the router
- Check for firmware updates
Satellite Not Connecting
- Move satellite closer to router
- Re-sync devices using the sync button
- Reset satellite if necessary
App Not Detecting Device
- Reinstall Orbi app
- Ensure phone is connected to Orbi network
- Restart mobile device
Final Thoughts
Orbi systems are powerful tools for creating reliable home Wi-Fi coverage, but occasional technical issues are normal. Whether you’re dealing with setup problems, connectivity drops, or performance concerns, speaking with a trained support representative can make a big difference. If you need immediate assistance, you can contact Orbi support directly at 1-872-777-1190 or 833-800-3030 to speak with a representative who can guide you through troubleshooting and help restore your network performance.
By preparing your information in advance and following instructions carefully, you can usually resolve most issues quickly and get your Orbi system running smoothly again.
Author
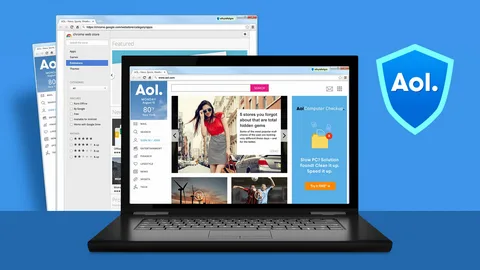
For many loyal users, AOL Desktop Gold remains a trusted tool for email, web browsing, and secure online communication. Over time, you may need to download, reinstall, or uninstall the software for various reasons, such as upgrading to a newer version, troubleshooting technical issues, or freeing up system space. This comprehensive guide explains how existing members can manage AOL Desktop Gold on their devices while using their existing AOL account. We also include tips to ensure a smooth process and an important disclaimer to protect your account and data.
Why You Might Need to Download, Reinstall, or Uninstall AOL Desktop Gold
Even for existing members, there are several reasons to manage your AOL Desktop Gold installation:
- New Device Setup: Installing AOL Desktop Gold on a new computer.
- Troubleshooting Issues: Reinstalling can resolve errors, crashes, or software glitches.
- Upgrading: Updating to the latest version ensures better security and improved features.
- Freeing Space: Uninstalling the software may be necessary if you no longer use it.
- Subscription Management: Removing older versions can prevent conflicts with newer subscriptions.
Understanding the proper process helps maintain your account, email data, and system integrity.

How to Download AOL Desktop Gold with Your Existing Account
Existing members can download AOL Desktop Support Number without creating a new account. Follow these steps:
1st Step: Visit the Official AOL Website
- Go to https://desktop.aol.com
- Make sure you are on the official website to avoid malicious downloads.
2nd Step: Log In with Your Existing AOL Account
- Press Sign In located at the top of the page
- Enter your existing AOL username and password.
- Ensure that your login credentials are correct to link the installation to your current account.
3rd Step: Download the Installer
- Once logged in, navigate to Download AOL Desktop Gold.
- Click the download button and save the installer file to a familiar location, such as your desktop or downloads folder.
4th Step: Run the Installer
- Double-click the downloaded file to begin installation.
- Follow the on-screen prompts to install AOL Desktop Gold.
- The software will automatically recognize your existing account during setup.
How to Reinstall AOL Desktop Gold
Reinstalling is helpful if the application is not functioning correctly or if an update failed. Here’s how existing members can reinstall:
1st Step: Uninstall the Current Version (Optional but Recommended)
- Go to Control Panel > Programs > Programs and Features (Windows) or Applications folder (Mac).
- Find AOL Desktop Gold, select it, and click Uninstall.
2nd Step: Download the Latest Version
-
Follow the download steps above to get the newest installer.
3rd Step: Install and Log In
- Run the installer.
- Log in with your existing AOL account during the installation process.
- Confirm that your emails and preferences are synced.
4th Step: Verify Settings
-
After reinstalling, check your email account settings, bookmarks, and preferences to ensure everything is restored.
How to Uninstall AOL Desktop
If you no longer want to use AOL Desktop or need to reinstall it cleanly, follow these steps:
For Windows Users:
- Open Control Panel.
- Click Programs > Programs and Features.
- Find AOL Desktop Gold in the list.
- Click Uninstall and follow the on-screen instructions.
For Mac Users:
- Open the Applications folder.
- Locate AOL Desktop Gold.
- Drag the application to the Trash.
- Empty the Trash to complete removal.
Important Notes:
- Back up any important emails or attachments before uninstalling.
- Removing the application will not delete your AOL account or cloud-based data.
Tips for a Smooth Download, Reinstall, or Uninstall Process
- Always Use the Official Website: Avoid third-party download links to prevent malware.
- Back Up Your Emails: Use AOL’s export or backup options if you have local data stored in the application.
- Check System Requirements: Ensure your computer meets the minimum requirements for AOL Desktop Gold.
- Close Other Applications: Before installing or uninstalling, close unnecessary programs to prevent errors.
- Keep Your Credentials Handy: Have your AOL username and password ready to avoid login issues.
- Use Antivirus Software: While downloading or reinstalling, ensure your system is protected against malicious files.
Frequently Asked Questions
Q1: Will reinstalling AOL Desktop affect my emails?
No, your emails and account data are stored on AOL’s servers, not locally, so they remain intact.
Q2: Can I install AOL Desktop Gold on multiple devices with one account?
Yes, you can use the same AOL account to sign in on multiple computers, depending on your subscription plan.
Q3: I forgot my password. Can I still download or reinstall?
You must recover your password first. Use AOL’s Forgot Password feature on the official website before proceeding.
Q4: Do I need to uninstall the previous version before reinstalling?
While not always necessary, uninstalling ensures a clean installation and reduces the risk of conflicts.
Final Thoughts
Managing AOL Desktop is straightforward when you follow the proper steps. Existing members can safely download, reinstall, or uninstall the application while preserving their account data and preferences. Always use the official AOL website, back up your data, and verify your login credentials to prevent any issues. Remember, reinstalling can resolve software errors, downloading ensures you have the latest version, and uninstalling may be necessary for troubleshooting or system maintenance. Following these instructions will help you maintain a secure and efficient AOL Desktop Gold experience.
Disclaimer
This article is for informational purposes only. We are not affiliated with, endorsed by, or officially connected to AOL or AOL Desktop Gold. We do not provide customer service. For official support, always visit the verified AOL website and use the contact details provided there. Follow these instructions carefully to avoid any account or data issues.
Author


Ear Reshaping Surgery in Dubai: Bat Ear Correction & Procedure

Secure Software Lifecycle Management: Approach to Cybersecurity

Corteiz Clothing: Hoodies, Tracksuits, Cargos & Streetwear Style

House and Land Packages in NSW: Complete Guide for Buyers

Houston Local SEO That Connects Businesses with Customers

Burberry Shirt US: Authentic Styles, Fit Guide & Online Store

Green Ammonia Market Growth: Trends, Technology & Outlook

Best Health Insurance Plan in India List Triggers Debate

Large Cap Funds: Benefits, and How They Build Long-Term Wealth

Why Sp5der Shorts Are Dominating Modern Streetwear Trends

Cybersecurity Consulting Company SequelNet Provides Critical IT Support Services to Medical Billing Firm, Medical Optimum

Team Communication Software Transforms Operations at Finance Innovate

Project Management Tool Transforms Long Island Business

How Alleviate Poverty Utilized IPPBX’s All-in-One Solution to Transform Lives in New York City

Breast Cancer: The Imperative Role of Mammograms in Screening and Early Detection

Unstoppable Collaboration: D.C.’s Citi Open and Silicon Valley Classic Unite to Propel Women’s Tennis to New Heights

Embracing Renewal: Sizdabedar Celebrations Unite Iranians in New York’s Eisenhower Park

The Benefits of Starting a Side Hustle for Financial Freedom

New Blood Donation Screening Questions What You Need to Know

Stylishly Timeless: The 5 Types of Sandals You Need in Your Closet
-

 Business3 years ago
Cybersecurity Consulting Company SequelNet Provides Critical IT Support Services to Medical Billing Firm, Medical Optimum
-
Business3 years ago
Team Communication Software Transforms Operations at Finance Innovate
-
Business3 years ago
Project Management Tool Transforms Long Island Business
-
Business3 years ago
How Alleviate Poverty Utilized IPPBX’s All-in-One Solution to Transform Lives in New York City
-
health3 years ago
Breast Cancer: The Imperative Role of Mammograms in Screening and Early Detection
-
Sports3 years ago
Unstoppable Collaboration: D.C.’s Citi Open and Silicon Valley Classic Unite to Propel Women’s Tennis to New Heights
-
Art /Entertainment3 years ago
Embracing Renewal: Sizdabedar Celebrations Unite Iranians in New York’s Eisenhower Park
-
Finance3 years ago
The Benefits of Starting a Side Hustle for Financial Freedom


