
Beauty Fitness
Everything You Should Know About Dermal Fillers in Miami
By
Reviewed
By Elena Madison

Introduction
Dermal fillers have quickly become one of the most popular non-surgical aesthetic treatments for individuals who want a refreshed, youthful look without undergoing invasive procedures. These injectable solutions help smooth wrinkles, restore lost facial volume, and enhance contours with minimal downtime. In recent years, Miami has emerged as a hub for aesthetic innovation, attracting both locals and visitors who seek high-quality treatments that deliver natural-looking yet noticeable improvements. The appeal of Dermal Fillers in Miami lies in their ability to provide subtle enhancements that fit seamlessly into busy lifestyles.
What Exactly Are Dermal Fillers?
Dermal fillers are injectable treatments designed to replenish facial volume, smooth out fine lines, and highlight natural facial features. Most contain FDA-approved substances such as hyaluronic acid and calcium hydroxylapatite compounds that naturally occur in the body and play a key role in keeping skin hydrated and structured. By restoring lost volume and stimulating collagen production, dermal fillers create smoother, firmer, and more youthful-looking skin. Many individuals choose Dermal Fillers in Miami for their safety, convenience, and long-lasting, natural enhancements.
Key Benefits of Dermal Fillers in Miami
Opting for dermal fillers offers a variety of aesthetic advantages, including:
- Smooth Wrinkles & Fine Lines: Softens visible ageing signs around the eyes, mouth, and forehead.
- Restore Lost Volume: Adds fullness to hollow areas such as cheeks and under the eyes.
- Enhance Facial Contours: Defines lips, chin, and jawline for improved symmetry and balance.
- Non-Surgical with Minimal Downtime: Resume your daily activities almost immediately after treatment.
These benefits make Dermal Fillers in Miami an attractive option for anyone seeking effective and natural facial rejuvenation.
Popular Dermal Filler Treatments in Miami
Miami offers a wide variety of advanced filler treatments tailored to individual goals, including:
- Lip Augmentation: Achieve fuller, well-defined lips while maintaining a natural look.
- Cheek & Jawline Contouring: Lift and sculpt facial features for improved definition.
- Tear Trough Fillers: Reduce hollowness and dark circles under the eyes.
- Non-Surgical Nose Reshaping: Refine the nasal profile without surgery.
With skilled injectors and the latest techniques, patients in Miami enjoy customised treatments that enhance beauty without an overdone appearance.
Why Miami is a Top Destination for Dermal Fillers?
Miami’s aesthetic industry is known for its expertise, innovation, and commitment to safety. The city is home to board-certified specialists who use state-of-the-art techniques to achieve precise, natural-looking outcomes. Whether you live in Miami or are visiting, choosing Dermal Fillers in Miami means having access to world-class treatments in an environment that values artistry, safety, and client satisfaction.

How Dermal Fillers Work?
The Treatment Process: What to Expect?
- Consultation: Your injector carefully assesses your facial structure, skin condition, and aesthetic goals to create a customised treatment plan.
- Preparation: A topical numbing cream is applied to minimise discomfort during the procedure.
- Injection: Using fine needles or cannulas, fillers are skillfully injected for precise, natural results.
- Post-Treatment: Minor redness or swelling may appear but typically subsides within a few hours to a day.
The entire procedure typically takes less than an hour, with little to no recovery time needed.
Aftercare & Maintenance
To get the most out of your Dermal Fillers in Miami treatment:
- Avoid strenuous activity and sun exposure for 24–48 hours.
- Stay well-hydrated and use gentle skincare products.
- Follow your provider’s specific post-care instructions.
- Schedule maintenance sessions every 6–12 months.
With proper aftercare, dermal filler results can be long-lasting and maintain a natural, youthful appearance.
Cost of Dermal Fillers in Miami
The cost of dermal fillers can vary significantly depending on factors such as the treatment area, the type of filler used, and the amount required to achieve the desired results. A personalised consultation with a qualified practitioner is the most effective way to receive an accurate quote. Many clinics offer customised treatment plans designed to suit your aesthetic goals, preferences, and budget.
Final Thoughts
Choosing Dermal Fillers in Miami is a non-surgical way to restore youthfulness and enhance your natural beauty. With expert injectors, advanced technology, and a strong focus on patient safety, you can achieve subtle yet impactful results without disrupting your lifestyle. Whether you want to smooth fine lines, add volume, or refine facial contours, dermal fillers remain one of the most effective options for modern facial rejuvenation. These treatments are quick, minimally invasive, and require little to no downtime, making them ideal for busy individuals. With tailored treatment plans and high-quality filler materials, you can enjoy results that look natural, feel comfortable, and last for months, helping you maintain a refreshed, confident appearance.
Author
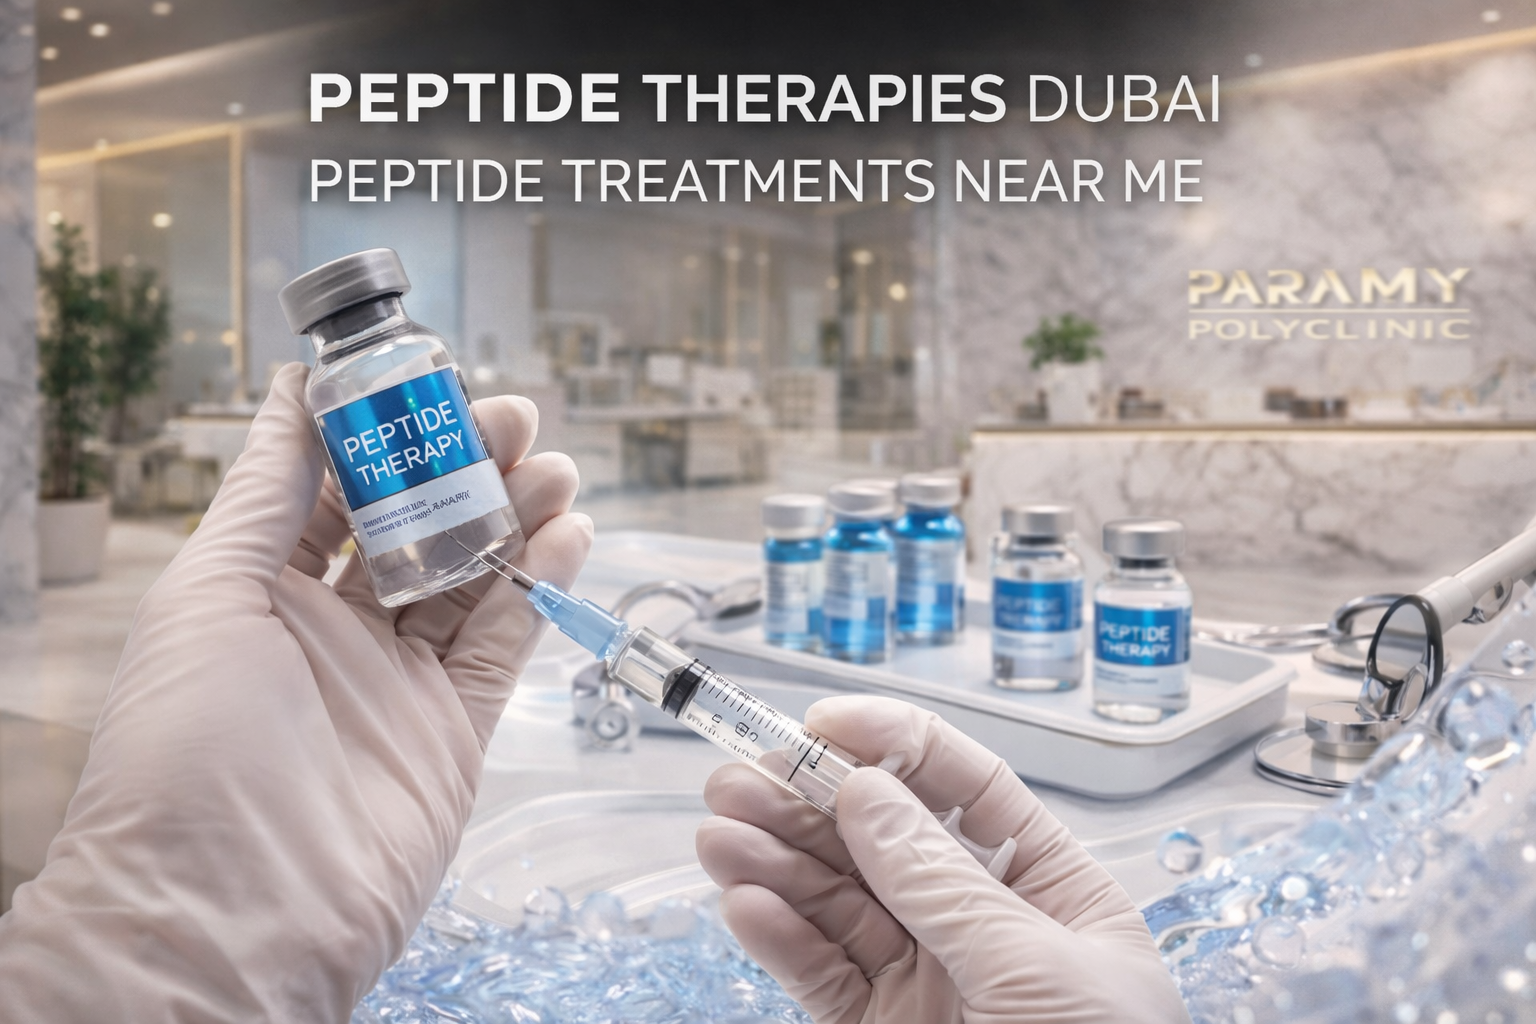
If you’re searching peptide treatment near me in Dubai, you’re likely looking for a clinic that can help with wellness, recovery, performance, or metabolic support. Peptide therapy has become popular because it’s often discussed as a targeted approach—yet popularity doesn’t automatically mean safety or quality.
In a clinical context, the difference between a good and a risky experience is usually the same: proper medical assessment, safe protocols, transparent follow-up, and realistic expectations. This guide explains what a trusted clinic should provide, what you should expect during consultation, and how to choose a provider responsibly—so you can pursue your goals with confidence.
What peptide therapy is (and how clinics treat it responsibly)
Peptides are short chains of amino acids that can influence signaling in the body. Depending on the peptide being discussed, people may explore therapy for different goals, such as recovery support, body composition assistance, metabolic wellness, or other health-related outcomes.
A trusted clinic frames peptide therapy as a health intervention that requires:
- patient screening,
- individualized planning,
- and monitoring.
This matters because different people respond differently based on baseline health, existing conditions, medications, diet, sleep, and training/lifestyle. A clinical provider should avoid “copy-paste protocols” and instead explain why a particular plan fits (or doesn’t fit) your situation.
Why “near me” matters in Dubai
When you search peptide treatment near me, you’re not only thinking about convenience. You also need continuity—because safe care usually requires multiple steps:
- initial consultation,
- baseline review (and sometimes labs),
- the therapy phase,
- follow-ups and adjustments,
- and clear instructions on what to do between visits.
In a busy city like Dubai, being close to your clinic can improve your ability to:
- attend appointments consistently,
- communicate early if you experience side effects,
- and complete a structured monitoring plan rather than “guessing” how things are going.
What a trusted clinic should do before recommending peptides
A reputable provider won’t simply ask what you want and start injections. Instead, a trusted clinic typically follows a medical workflow:
1) Full medical intake
You should expect a thorough discussion of:
- current medical conditions (e.g., thyroid, diabetes, cardiovascular issues),
- past surgeries or chronic diagnoses,
- current medications and supplements,
- allergies or past adverse reactions,
- lifestyle factors such as sleep, stress, nutrition, and training routine.
If a clinic ignores key history questions, it may increase risk and reduce effectiveness.
2) Risk screening and eligibility assessment
A responsible clinic should screen for situations where peptide therapy may not be appropriate. This includes contraindications, pregnancy considerations, active infections, uncontrolled health conditions, or interactions with other medications.
Even if your goal is wellness/performance, the clinic should treat your safety as the priority.
3) Baseline health evaluation and labs (where clinically indicated)
Many clinics recommend baseline labs or health markers to:
- understand your starting point,
- detect hidden risks,
- and create a benchmark for monitoring.
Not every plan requires the same tests, but the provider should explain what they’re checking and why. If they refuse to discuss monitoring at all, that’s a major warning sign.
4) Clear protocol rationale and expectations
Before you start, you should receive:
- a clinical explanation of why the peptide is chosen,
- dosing schedule details (duration, frequency, and administration guidance),
- expected outcomes and realistic timelines,
- and what progress will look like beyond marketing claims.
Trusted care is specific and measurable—not vague.
What safe peptide treatment should include during the program
Once the plan begins, professional care remains active. Look for:
Structured follow-ups
A trusted clinic schedules reassessment so they can adjust the plan based on your response and safety. Follow-up should include:
- symptom review and side effect monitoring,
- discussion of training, nutrition, and adherence,
- evaluation of whether the plan is meeting goals.
Education and harm-reduction guidance
A clinical team should provide guidance on safe administration, hygiene considerations, and when to contact the clinic if something feels wrong.
Documentation
You should expect clinical documentation of:
- your baseline assessment,
- protocol details,
- follow-up notes and outcomes.
This supports continuity of care and professional medical standards.
Potential benefits—explained responsibly
People often search peptide treatment near me with hopes for:
- improved recovery from training,
- better body composition support,
- enhanced metabolic wellness,
- improved energy or sleep-related recovery (depending on the plan).
A trusted clinic will clarify that:
- results vary by individual,
- lifestyle and training fundamentals still matter,
- peptides are supportive tools when appropriate—not guaranteed transformations.
If a clinic guarantees results or promises “instant” outcomes, treat that as a red flag.
Side effects and when to stop and seek help
Because peptide therapy involves biologically active substances, some people may experience side effects such as irritation at injection sites, changes in appetite, mood or energy shifts, or other individual reactions depending on the compound used.
A professional clinic should explain:
- common side effects vs. concerning symptoms,
- what to do if side effects occur,
- whether to pause therapy,
- and how to contact them after hours (if applicable).
If you experience severe reactions, worsening symptoms, allergic-type responses, or any alarming changes, you should seek immediate medical care rather than waiting.
How to choose a peptide clinic in Dubai (practical checklist)
When you narrow down options for peptide treatment near me, use these questions:
- Do you perform a medical screening and ask about my health history?
- Will you explain contraindications and potential risks clearly?
- Do you recommend baseline labs or health markers when appropriate?
- Do you provide a structured protocol (dose, schedule, duration) and a follow-up plan?
- Do you offer monitoring and reassessment—not just a one-time consultation?
- Do you discuss expectations realistically and avoid guarantees?
- Is the clinic’s communication professional, documented, and clinically oriented?
A trusted clinic will answer confidently, clinically, and transparently.
Common myths and misconceptions
When people search peptide treatment near me, some common misconceptions appear online. For example:
- “Peptides are automatically safe for everyone.”
Not true—eligibility screening matters. - “If it’s popular, it must be effective.”
Popularity is not the same as clinical suitability. - “If I don’t feel side effects, it’s working.”
Absence of side effects doesn’t confirm effectiveness; monitoring is key. - “No need for follow-ups.”
Follow-ups are often where safety and optimization happen.
A responsible clinic helps you avoid these mistakes through education and medical oversight.
Conclusion
Searching peptide treatment near me in Dubai is a good first step—but your choice should be based on clinical standards, not hype. A trusted peptide clinic should provide thorough screening, individualized planning, education on risks, structured follow-ups, and realistic expectations.
Author

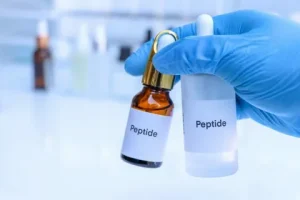
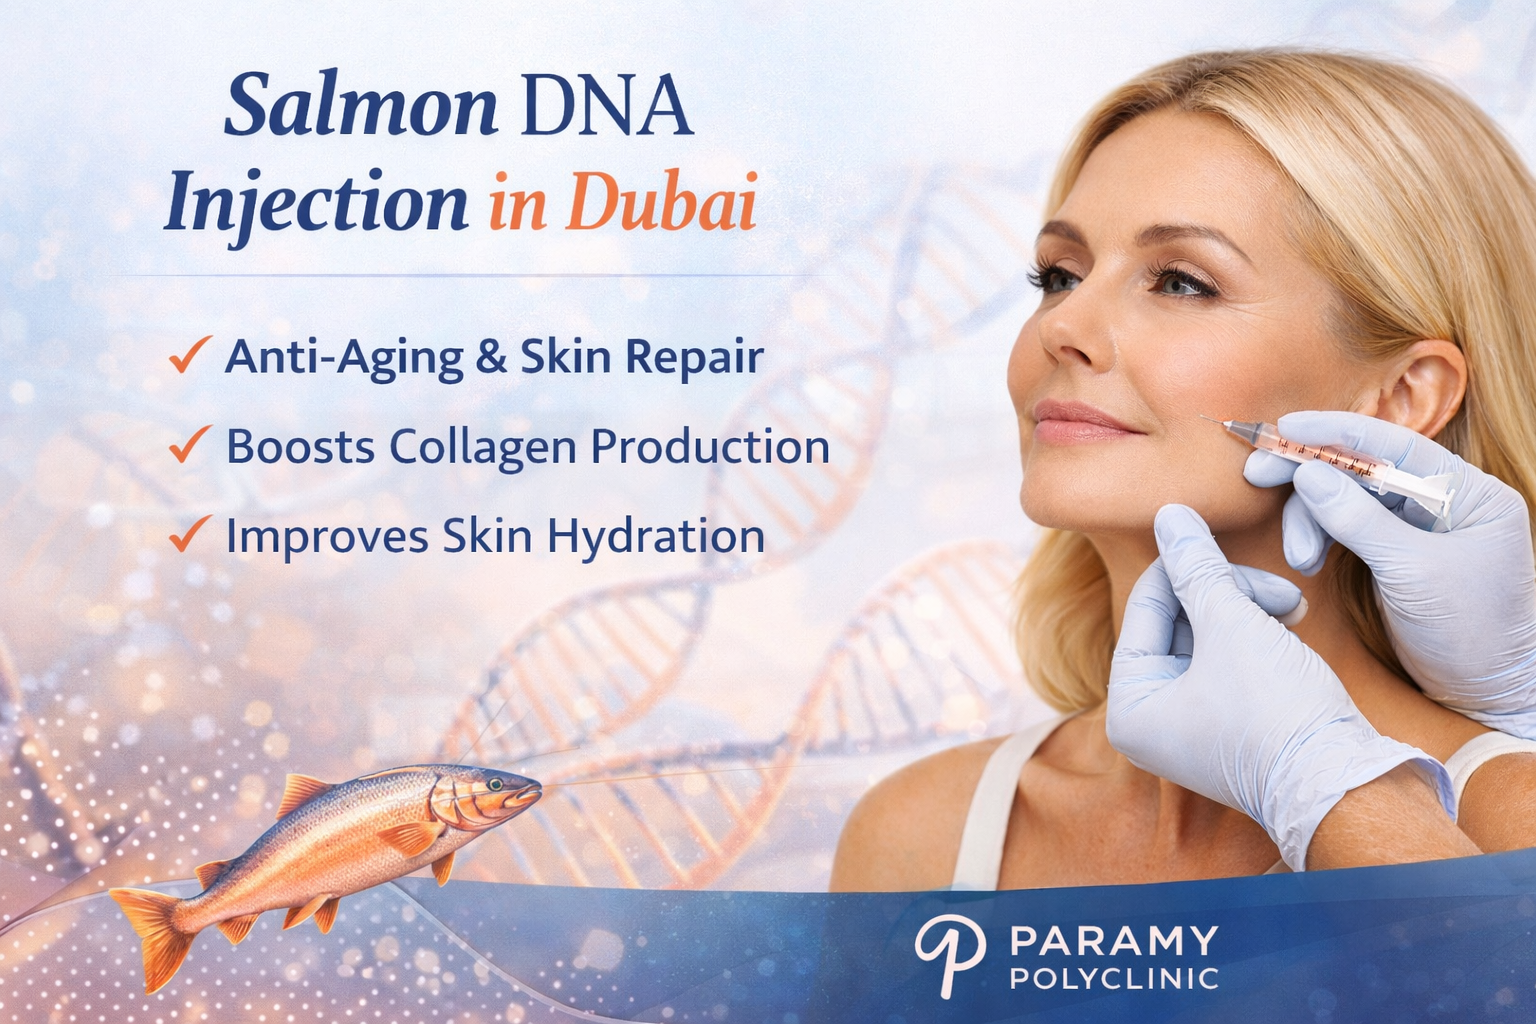
Skin boosters are a class of minimally invasive aesthetic treatments designed to improve skin hydration, texture, and overall radiance by delivering hydrating and bioactive substances into the superficial-to-mid dermis. Popular in Dubai’s aesthetic market, skin boosters are used on the face, neck, décolletage, hands, and other areas where skin quality improvement is desired. This guide explains what skin boosters are, common ingredients and mechanisms, typical treatment protocols and outcomes, safety considerations, clinic selection criteria in Dubai, practical aftercare, cost expectations, and includes a medical disclaimer.
What Are Skin Boosters?
Skin boosters are injectable formulations that differ from volumizing dermal fillers. Rather than restoring volume in deep tissue, skin boosters are administered as multiple microinjections across a treatment area to improve dermal hydration, stimulate collagen and elastin production, and refine skin texture. Treatments aim to produce subtle, natural-looking enhancement—smoother skin, reduced fine lines, and increased luminosity—without the structural changes associated with typical fillers.
Common Ingredients and Mechanisms
- Hyaluronic Acid (HA) Boosters: Many skin boosters use non-crosslinked or lightly crosslinked hyaluronic acid in low to moderate concentrations. HA attracts and retains water in the dermis, improving hydration and turgor. Because HA is a natural component of the extracellular matrix, these boosters are generally well tolerated.
- Polynucleotides and PDRN: Polynucleotide (PN) preparations and polydeoxyribonucleotide (PDRN) extracts are used for their potential bio-stimulatory and tissue-repair properties. They may support fibroblast activity and extracellular matrix remodeling.
- Peptides and Growth Factor Complexes: Some formulations include synthetic peptides or growth factors aiming to stimulate collagen synthesis and cellular turnover.
- Combination Formulations: Certain products combine HA with PNs, peptides, or antioxidants to provide both immediate hydration and longer-term regenerative signaling.

Treatment Areas and Indications
- Face: Cheeks, perioral region, under-eye/tear troughs (careful technique required), nasolabial and marionette-prone areas for texture improvement rather than volumization.
- Neck and Décolletage: Improve crepiness, fine rhytides, and skin laxity.
- Hands: Reduce visible aging, improve skin thickness and texture.
- Other Areas: Knees, inner arms, and other sites with thin or dehydrated skin.
Ideal candidates are adults seeking improved skin quality with minimal downtime; patients with severe laxity or deep volume loss are better served by other modalities.
Typical Treatment Protocol and Expected Results
- Protocol: Most practitioners recommend a series of 2–4 sessions spaced 2–4 weeks apart for initial treatment, followed by maintenance sessions every 6–12 months depending on product and response.
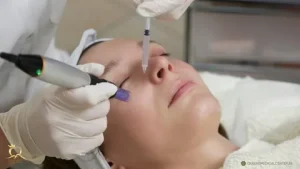
- Technique: Microinjections are administered using mesotherapy-style serial puncture, microcannulas, or automated injection devices, with volumes and depths tailored to the area treated.
- Timeline: Hydration and surface radiance improvements are often noticeable within days. Collagen-mediated texture improvements typically develop over several weeks to months.
- Outcomes: Expect subtle enhancement—smoother skin, reduced fine lines, improved hydration, and healthier-looking tone. Skin boosters are not intended to create dramatic volumetric changes.
Safety, Side Effects, and Contraindications
- Common transient effects: erythema, slight swelling, pinpoint bleeding, bruising, and tenderness that generally resolve within days.
- Infection risk: low when proper aseptic technique is used. Clinics should use single-use needles/syringes and strict infection controls.
- Nodules and granulomas: rare with well-formulated products and proper depth placement; risk increases with inappropriate technique or contaminated product.
- Vascular occlusion: uncommon for superficial dermal injections but remains a theoretical risk—practitioners must understand facial vascular anatomy and use safe injection practices.
- Allergic reactions: rare for HA and many modern biologics, but patients with known hypersensitivities should disclose history. For products containing animal-derived components, screening for allergies or ethical concerns is advised.
- Contraindications: active infection at the treatment site, pregnancy and breastfeeding (most clinicians defer treatments), uncontrolled systemic illness, or certain autoimmune or coagulation disorders depending on individual risk assessment.
Choosing a Clinic and Practitioner in Dubai
- Licensing and credentials: Verify clinic licensing with the relevant emirate health authority (e.g., Dubai Health Authority) and confirm the injecting practitioner is a licensed physician with formal training in dermatology, plastic surgery, or aesthetic medicine.
- Experience and technique: Ask about the practitioner’s experience with skin boosters specifically; request before-and-after portfolios and details on injection techniques used.
- Product transparency: Reputable clinics will disclose product brand, batch details, origin, and clinical data supporting its use. Avoid clinics that cannot verify product authenticity or source.
- Safety protocols: Observe clinic hygiene, single-use equipment policies, emergency preparedness, and post-procedure monitoring.
- Consultation: A thorough pre-treatment consultation should include medical history, realistic outcome discussion, and informed consent including potential complications and aftercare instructions.
Cost Considerations
- Pricing varies by product, number of sessions, treated area, and clinic reputation. In Dubai, prices range from moderate to premium. Expect to pay per session, and clarify how many sessions are recommended, whether needling or topical anesthesia is included, and the expected maintenance schedule.
- Beware of deep discounts for biologic injectables—unusually low prices may indicate non-genuine products or inadequate practitioner training.
Preparation and Aftercare
- Pre-treatment: Avoid blood-thinning medications and supplements (e.g., high-dose NSAIDs, aspirin, fish oil) where medically appropriate and only after consulting with your physician. Discontinue retinoids/active exfoliants as directed to reduce irritation risk.
- During treatment: Most patients tolerate the procedure with topical anesthetic or local block if needed.
- Post-treatment care: Expect mild redness and swelling; avoid strenuous exercise, excessive heat, alcohol, and facial massages for 24–48 hours. Apply gentle skincare and sun protection. Use cold compresses as recommended and follow any antibiotic or topical regimens if prescribed.
- Follow-up: Attend scheduled reviews to evaluate response and manage any adverse effects promptly.
Complementary Approaches
Skin boosters work best within a broader skin-health strategy:
- Daily sun protection (broad-spectrum SPF) to preserve results.
- Use of topical retinoids, vitamin C serums, and moisturizers to support collagen and antioxidant defenses.
- Consider adjunctive in-office treatments (microneedling, chemical peels, lasers) only when timed appropriately and with provider guidance.
Regulatory and Ethical Notes
Dubai requires licensed practitioners and regulated clinical environments for injectable treatments. Consumers should confirm clinic accreditation and ensure informed consent and proper documentation of any biologic agents used.
Medical Disclaimer
This guide is informational and does not constitute medical advice. Consult a licensed healthcare professional to determine if skin boosters are appropriate for your individual health status and aesthetic goals. Individual results and risks vary; only a qualified clinician can assess suitability, technique, and product selection.
Conclusion
Skin boosters offer a refined option for patients seeking improved hydration, texture, and subtle rejuvenation with minimal downtime. In Dubai’s competitive aesthetic market, prioritize licensed practitioners, verified products, and realistic expectations. When combined with proper aftercare and complementary skin-maintenance strategies, skin boosters can meaningfully enhance skin quality and impart a healthy, hydrated glow.
Author
Author


1977 Essentials Tracksuit: The Rise of Minimal Streetwear Style

1977 Essentials Tracksuit: Comfort, Style & Streetwear

Lifestyle Benefits of Queensland Retirement Villages

Automotive SEO Company: How SEO Helps Dealers Attract More Customers

Rhinestone Jackets Outfit Guide: Shine in Style Anywhere

Safe and Smooth Late Night After Party Chauffeur Dubai

Dubai School Transport Services – Safe & Timely Pickups

Hire a Personal Driver in Dubai UAE Today

Peptide Treatment Near Me | Dubai’s Trusted Clinic

What Is a 24/7 Pet Clinic in Dubai and When to Seek One

Cybersecurity Consulting Company SequelNet Provides Critical IT Support Services to Medical Billing Firm, Medical Optimum

Team Communication Software Transforms Operations at Finance Innovate

Project Management Tool Transforms Long Island Business

How Alleviate Poverty Utilized IPPBX’s All-in-One Solution to Transform Lives in New York City

Breast Cancer: The Imperative Role of Mammograms in Screening and Early Detection

Unstoppable Collaboration: D.C.’s Citi Open and Silicon Valley Classic Unite to Propel Women’s Tennis to New Heights

Embracing Renewal: Sizdabedar Celebrations Unite Iranians in New York’s Eisenhower Park

The Benefits of Starting a Side Hustle for Financial Freedom

New Blood Donation Screening Questions What You Need to Know

Stylishly Timeless: The 5 Types of Sandals You Need in Your Closet
-

 Business3 years ago
Cybersecurity Consulting Company SequelNet Provides Critical IT Support Services to Medical Billing Firm, Medical Optimum
-
Business3 years ago
Team Communication Software Transforms Operations at Finance Innovate
-
Business3 years ago
Project Management Tool Transforms Long Island Business
-
Business3 years ago
How Alleviate Poverty Utilized IPPBX’s All-in-One Solution to Transform Lives in New York City
-
health3 years ago
Breast Cancer: The Imperative Role of Mammograms in Screening and Early Detection
-
Sports3 years ago
Unstoppable Collaboration: D.C.’s Citi Open and Silicon Valley Classic Unite to Propel Women’s Tennis to New Heights
-
Art /Entertainment3 years ago
Embracing Renewal: Sizdabedar Celebrations Unite Iranians in New York’s Eisenhower Park
-
Finance3 years ago
The Benefits of Starting a Side Hustle for Financial Freedom


